
GitLab คือ Complete DevOps Platform ส่วนประกอบคร่าวๆดังนี้ Build-id CI/CD, Source Management System และมีความปลอดภัยเป็นมาตรฐาน GitLab ยังมีเครื่องมืออีกมากมายที่ช่วยการพัฒนาและส่งมอบได้รวดเร็วยิ่งขึ้น
ในบทความนี้จะเป็นการติดตั้ง GitLab บน CentOS8 จะเป็น GitLab แบบ On-Premise ซึ่งก็คือการติดตั้งบนเครื่องที่เราเป็นเจ้าของสามารถจัดการกับ GitLab เองทั้งหมด และ GitLab เป็น Open-Source สามารถนำไปใช้งานเลยไม่มีค่าใช้จ่าย หรือถ้าไม่ต้องการความยุงยากในการติดก็มีตังเลือกที่เป็น GitLab on Cloud ด้วย
เตรียมเครื่องให้พร้อม
- เปิด Feature Hyper-V Windows 10 Pro ที่นี่
- ตั้งค่า Virtual Switch ที่นี่
- เตรียม Hyper-V สำหรับ Linux ที่นี่
- ติดตั้ง CentOS8 ที่นี่
Virtual Switch ที่ใช้ตัวอย่างนี้
Adapter’s name ที่ใช้ Default Switch และ GitLab Virtual Switch
IP Address (GitLab Virtual Switch) คือ 169.254.92.237
Subnet (GitLab Virtual Switch) คือ 255.255.0.0
CentOS8 IP Address คือ 169.254.92.40
เตรียม CentOS8 ก่อนการติดตั้ง
- เปิดโปรแกรม PuTTy เพื่อเชื่อมต่อกับ CentOS8 ด้วย IP Address: 169.254.92.40 แล้วกดปุ่ม Open
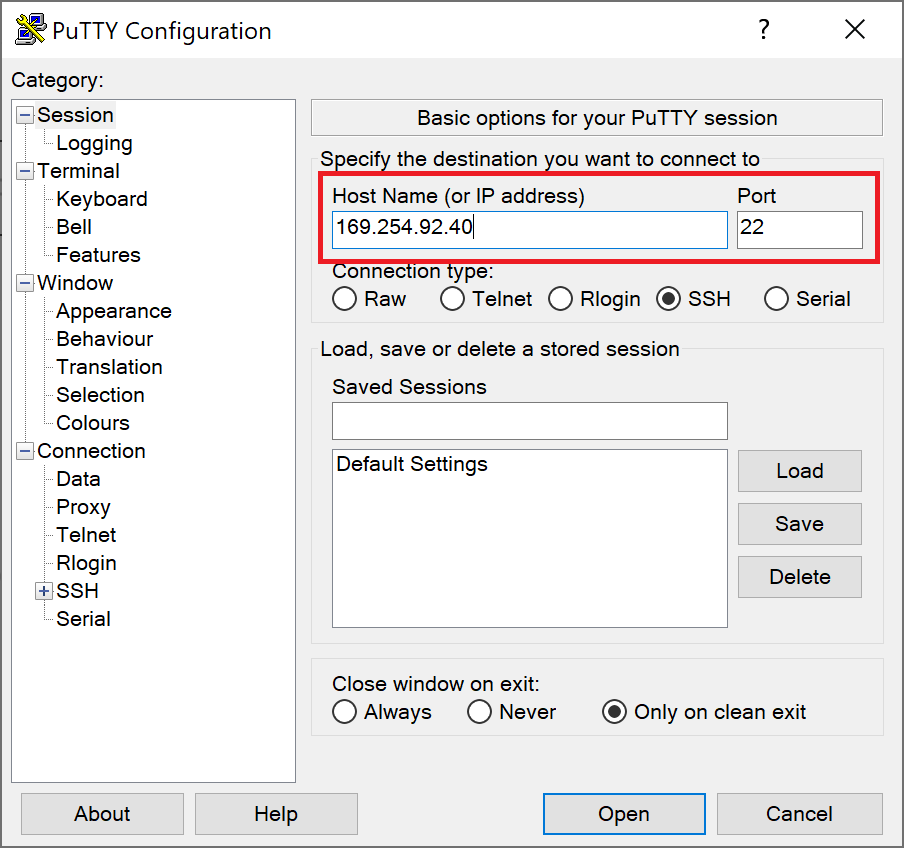
เมื่อเจอหน้าต่าง PuTTY Security Alert ให้กด Yes
- Sign in ด้วย User: administrator ไม่ควรใช้ user: root เนื่องจากเป็นการเชื่อมต่อด้วย remote server
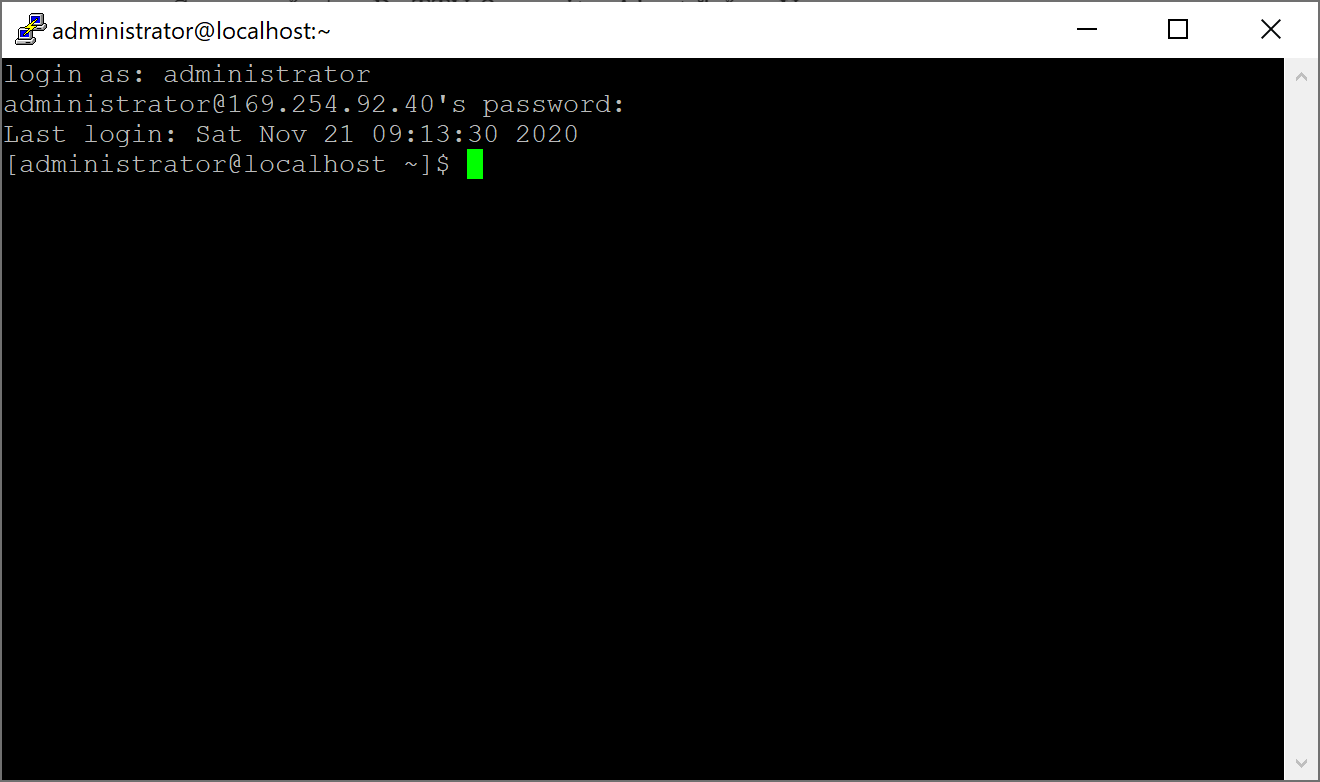
- Update CentOS8 ด้วยคำสั่ง
$sudo dnf update
ใส่ Password ของ adminstrator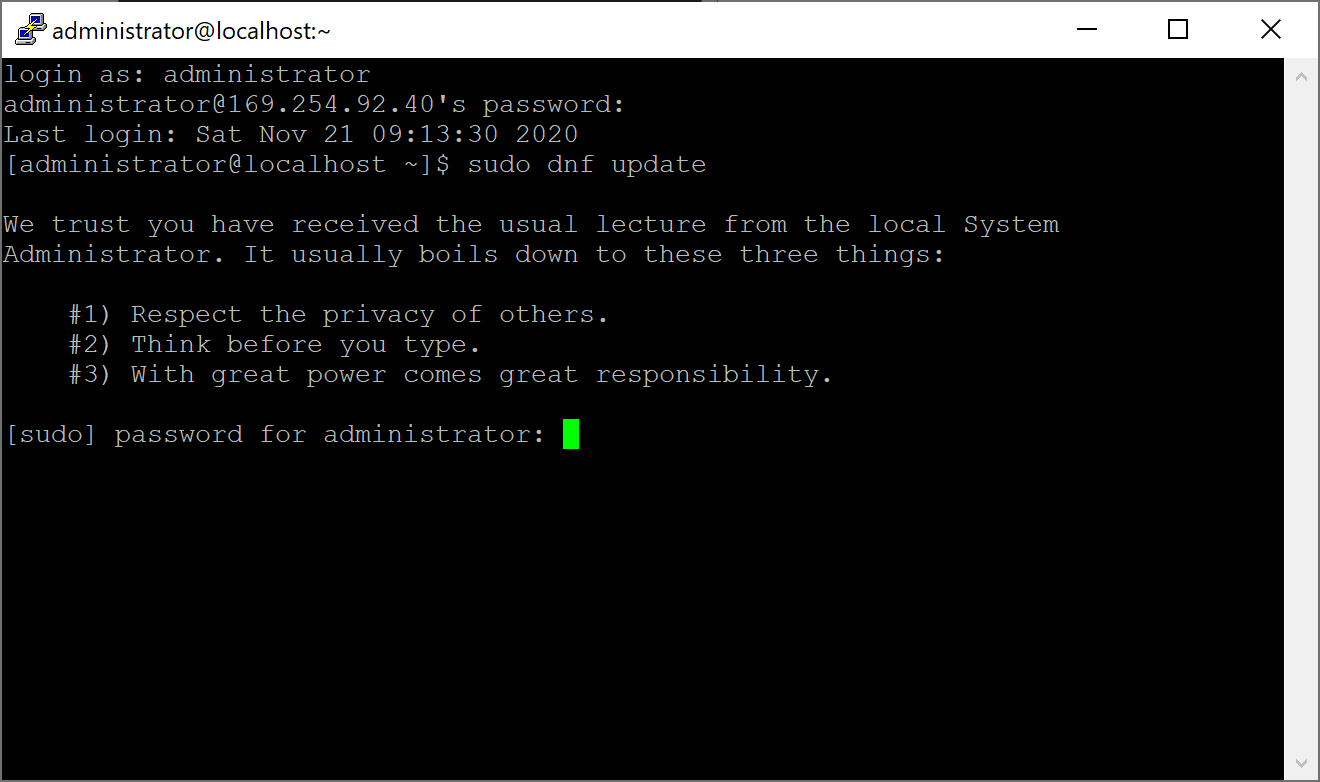
เมื่อเจอคำตามให้ยืนยันให้ตอบ Y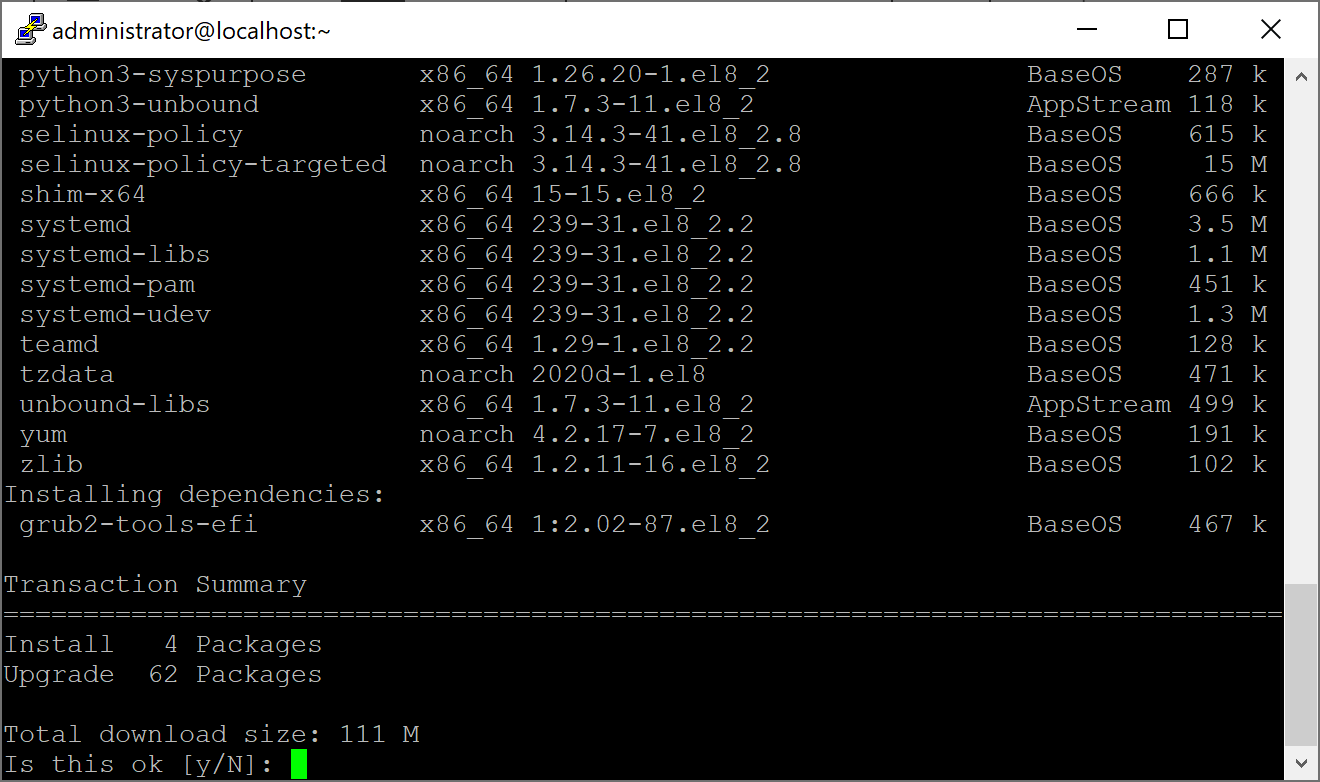
รอให้ CentOS8 Download update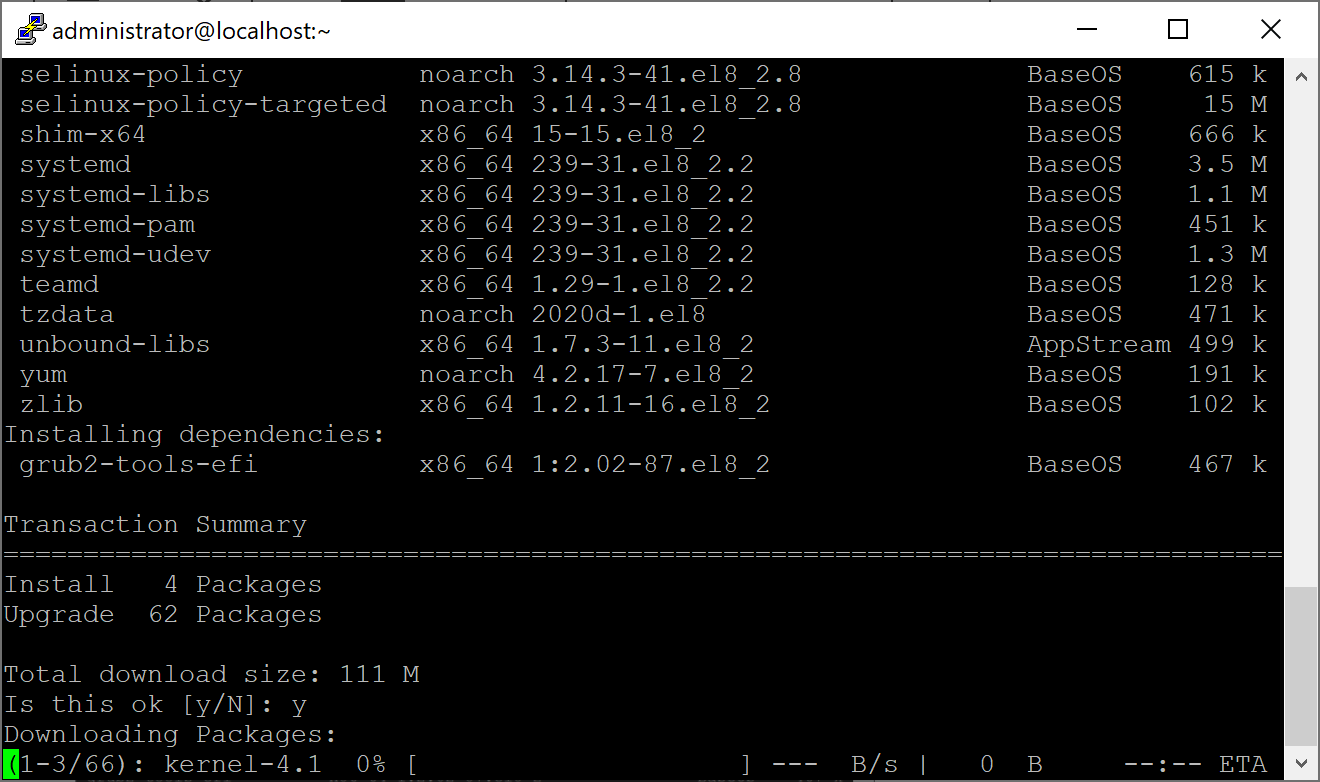
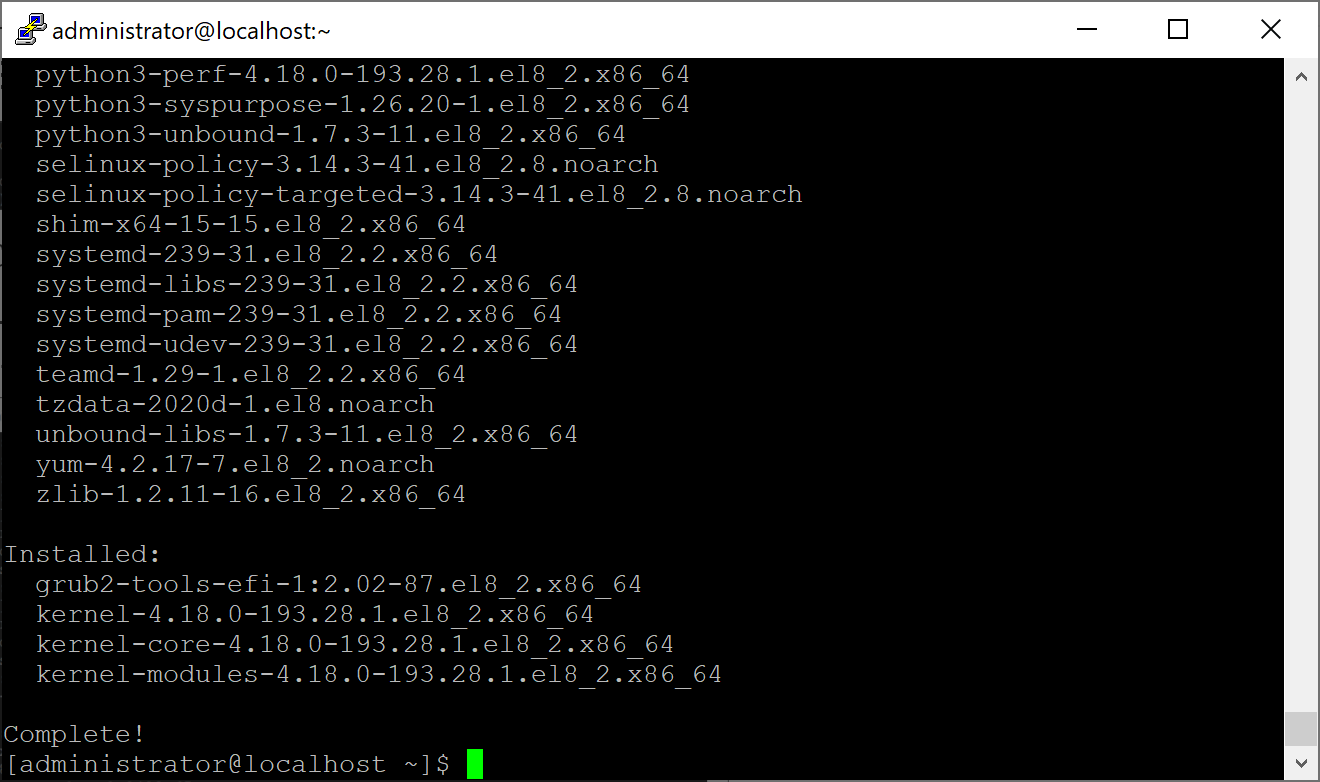
เมื่อ CentOS8 Download update เรียบร้อยแล้วจะเริ่มทำการติดตั้ง Update และจะพบกับคำถามให้ยืนยันให้ตอบ Y จากนั้น CentOS8 จะเริ่มทำการติดตั้ง Update รอจนกว่าการติดตั้งเสร็จสิ้น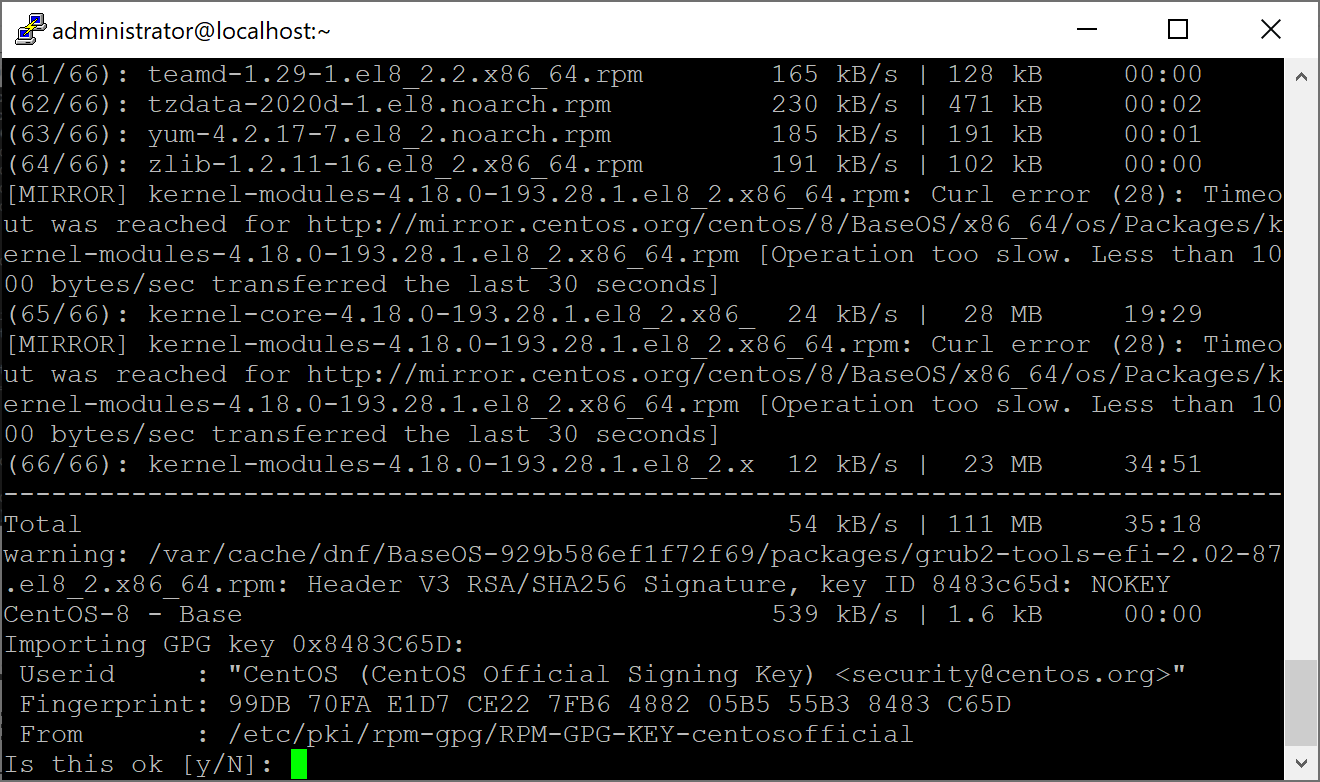
- ติดตั้ง Update เสร็จสิ้น CentOS8 ก็พร้อมสำหรับการติดตั้ง GitLab
ติดตั้ง GitLab บน CentOS8
- Open PuTTy เชื่อมต่อไปที่ CentOS8 IP Address : 169.254.92.40 จากนั้นติดตั้งโปรแกรม curl, policycoreutils, openssh-server ด้วยคำสั้ง
$sudo dnf install -y curl policycoreutils openssh-server
** ในคำสั่งเพิ่ม option -y หมายถึงตอน Yes เมื่อเจอคำถามเพื่อให้ยืนยัน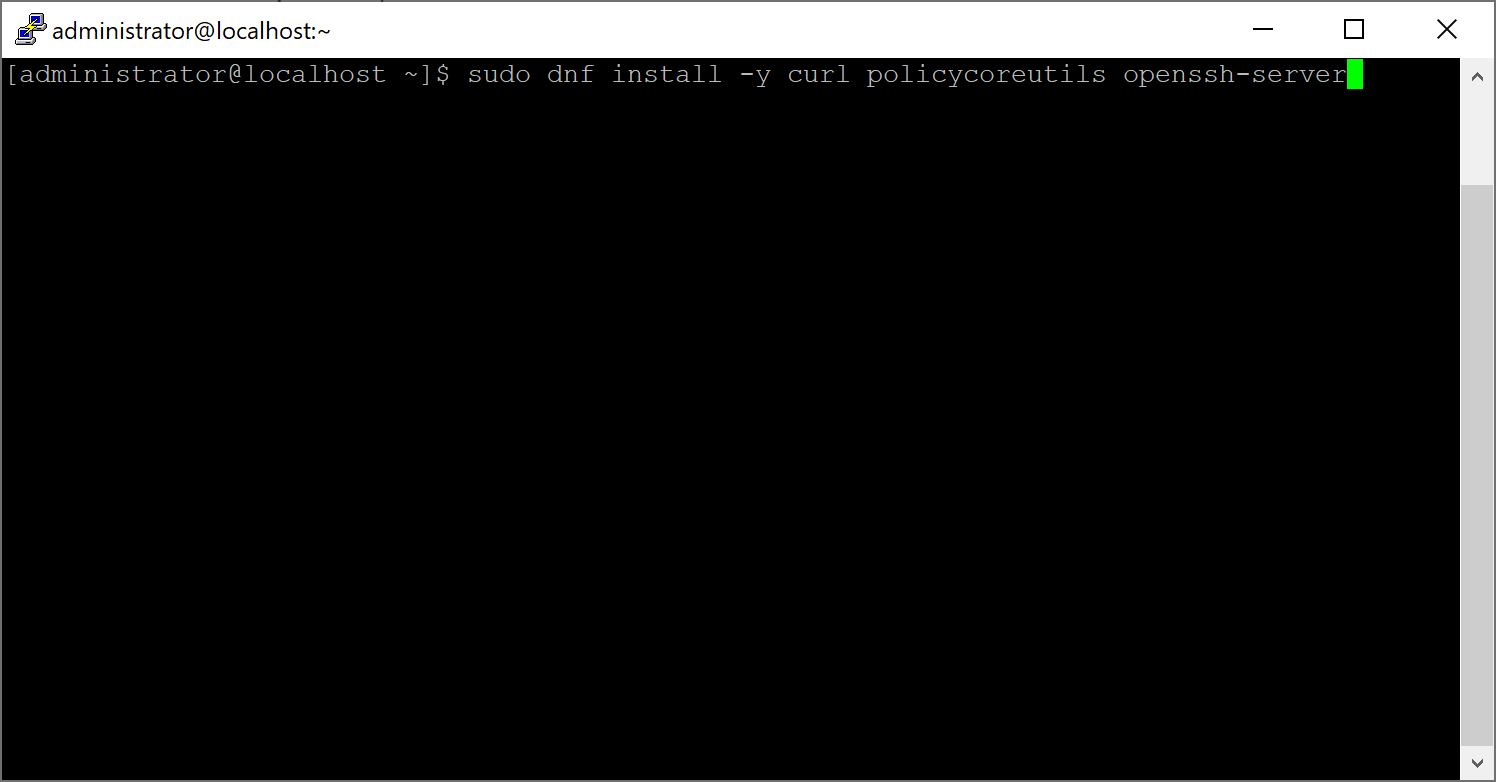
ถ้า CentOS8 มีโปรแกรมเหล่านั้นแล้วจะไม่ติดตั้งซ้ำ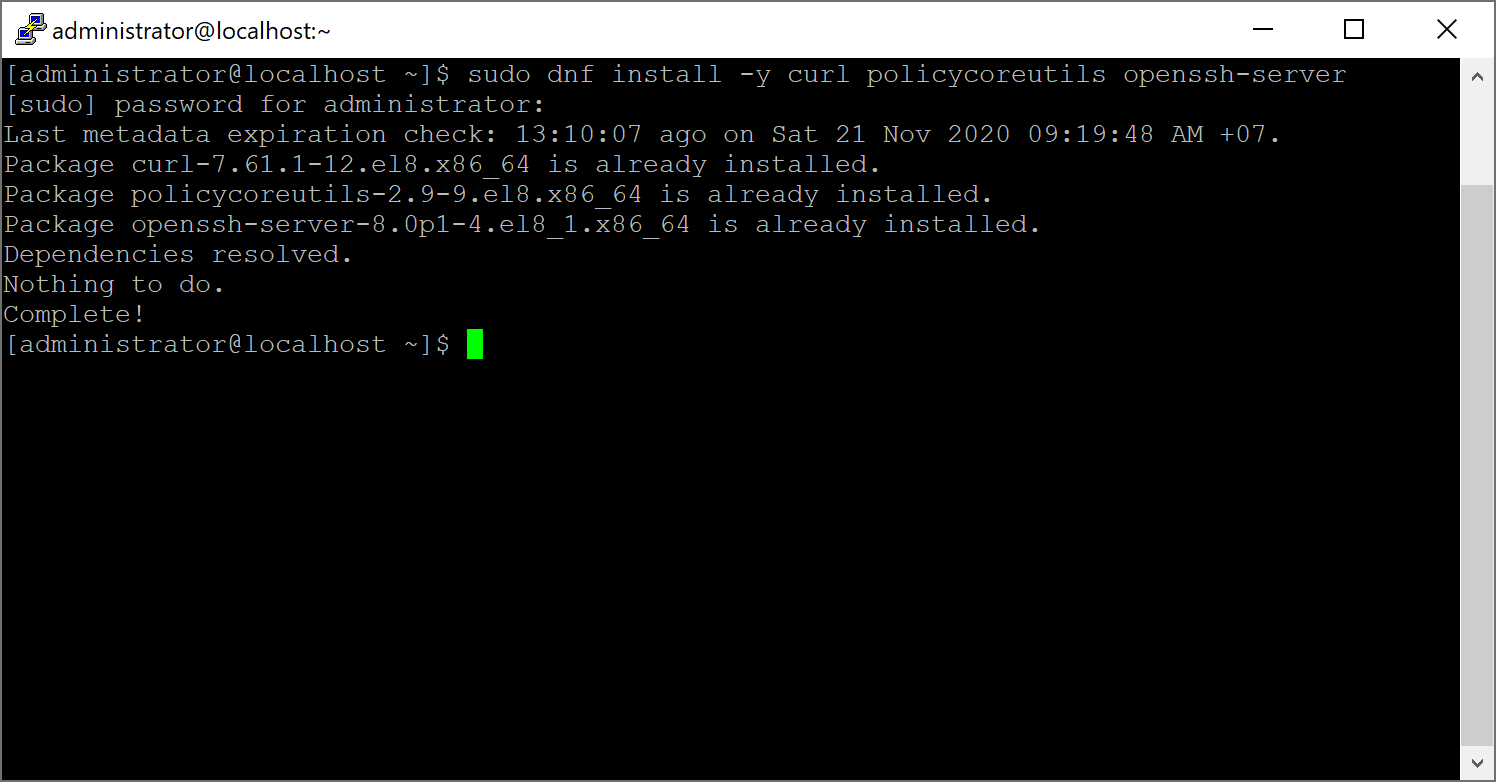
- สั่งให้ openssh-server ทำงานด้วยคำสั้ง
$sudo systemctl enable sshd$sudo systemctl start sshd
** คำสั่ง enable คือการสั่งให้โปรแกรมทำงานเมื่อเปิดเครื่อง (Startup)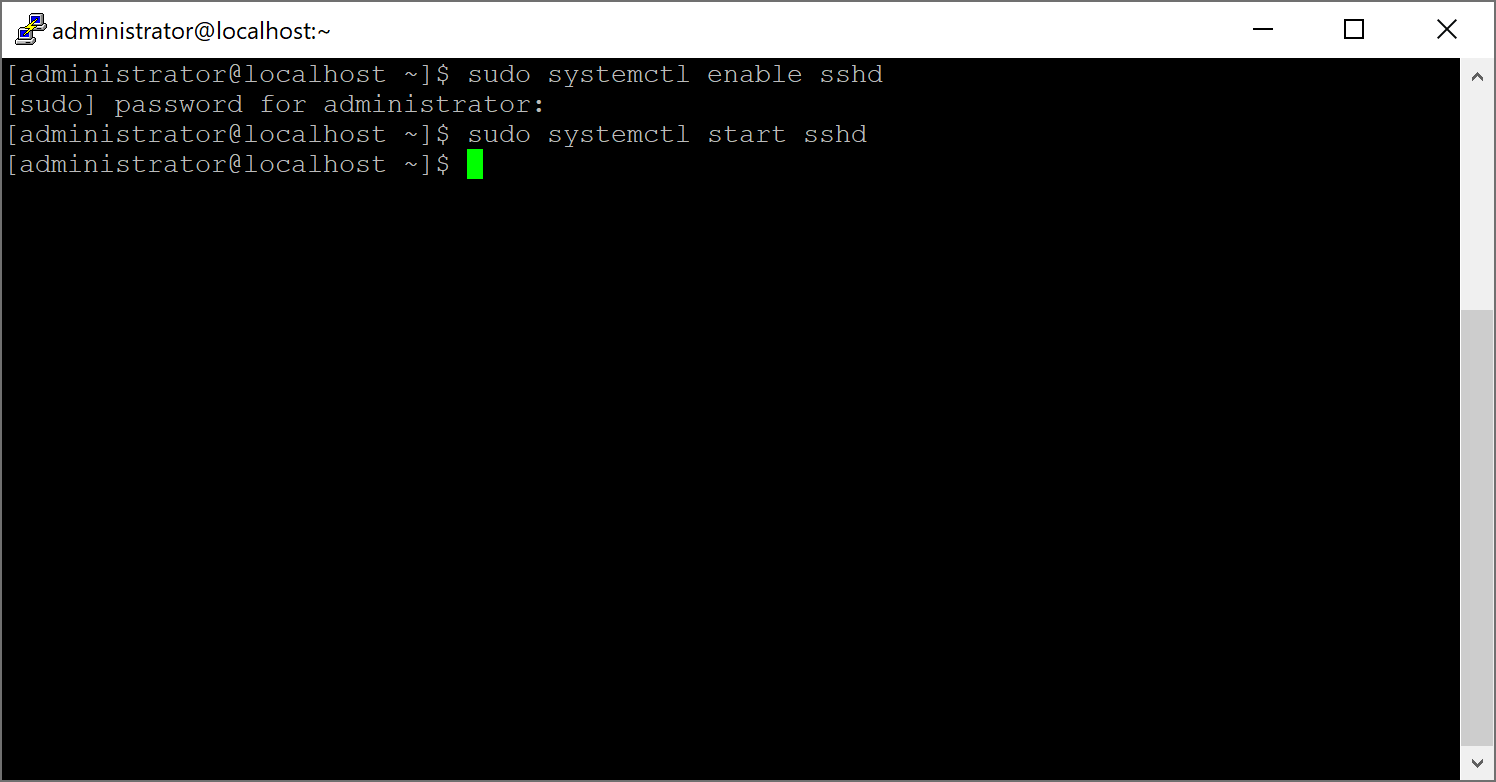
- เปิด Firewall ให้ http และ https ด้วยคำสั่ง
$sudo firewall-cmd --permanent --add-service=http$sudo firewall-cmd --permanent --add-service=https$sudo systemctl reload firewalld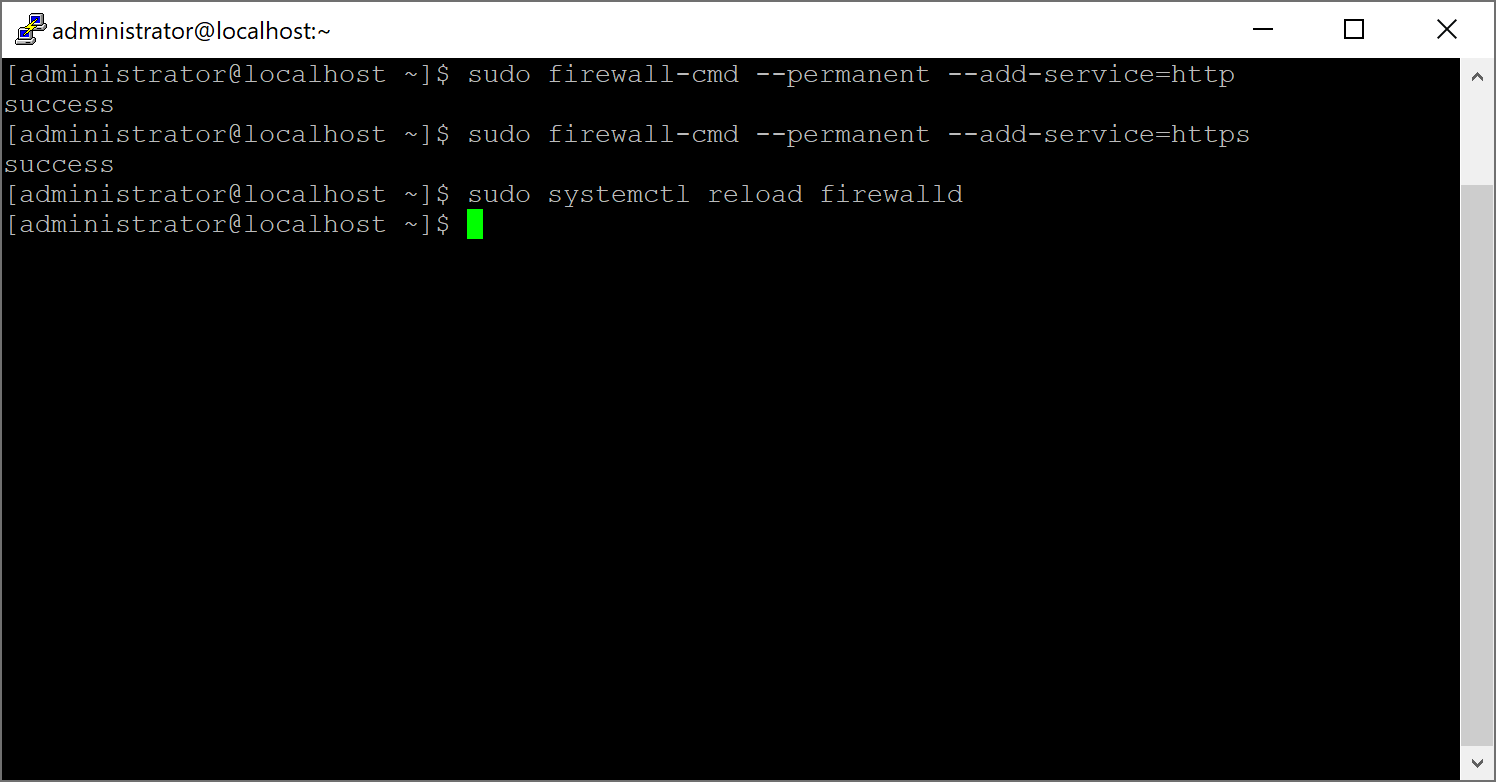
- ติดตั้ง Postfix เพื่อให้ GitLab สามารถส่ง Email ได้
$sudo dnf install -y postfix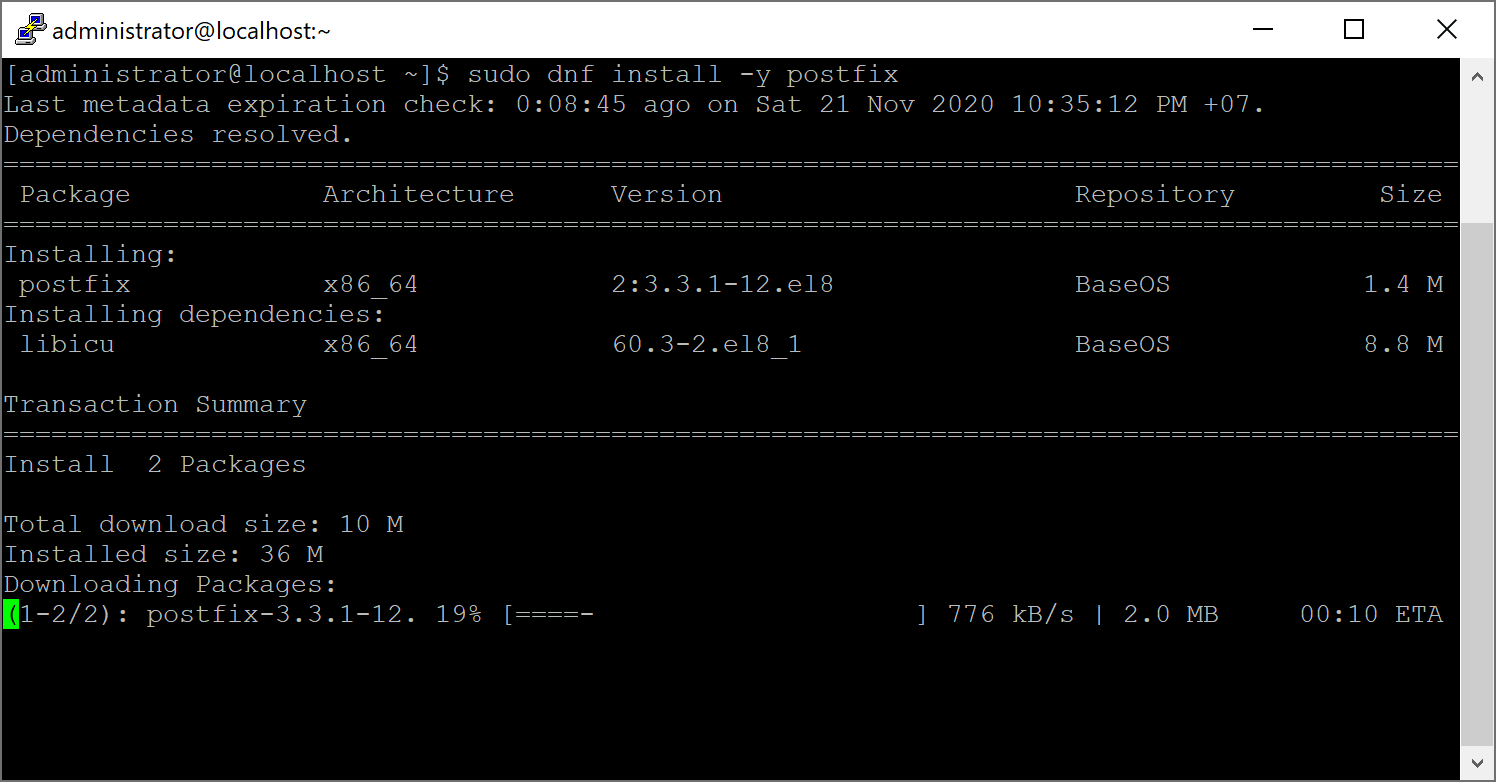
รอจนติดตั้งเสร็จสิ้นจากนั้น ตั้งค่าให้ Postfix เริ่มทำงานเมื่อเปิดเครื่อง$sudo systemctl enable postfix
สั่งให้โปรแกรม Postfix ทำงาน$sudo systemctl start postfix - เพิ่ม GitLab Package Repository เข้ามาใน CentOS8 ด้วยคำสั่ง
$sudo curl https://packages.gitlab.com/install/repositories/gitlab/gitlab-ee/script.rpm.sh | sudo bash
- หลังจากเพิ่ม GitLab package repository แล้วตอนนี้จะทำการติดตั้ง GitLab ด้วยคำสั่ง ใช้ IP Address ของเครื่อง CentOS8 คือ 169.254.92.40
$sudo EXTERNAL_URL="http://169.254.92.40" dnf install -y gitlab-ee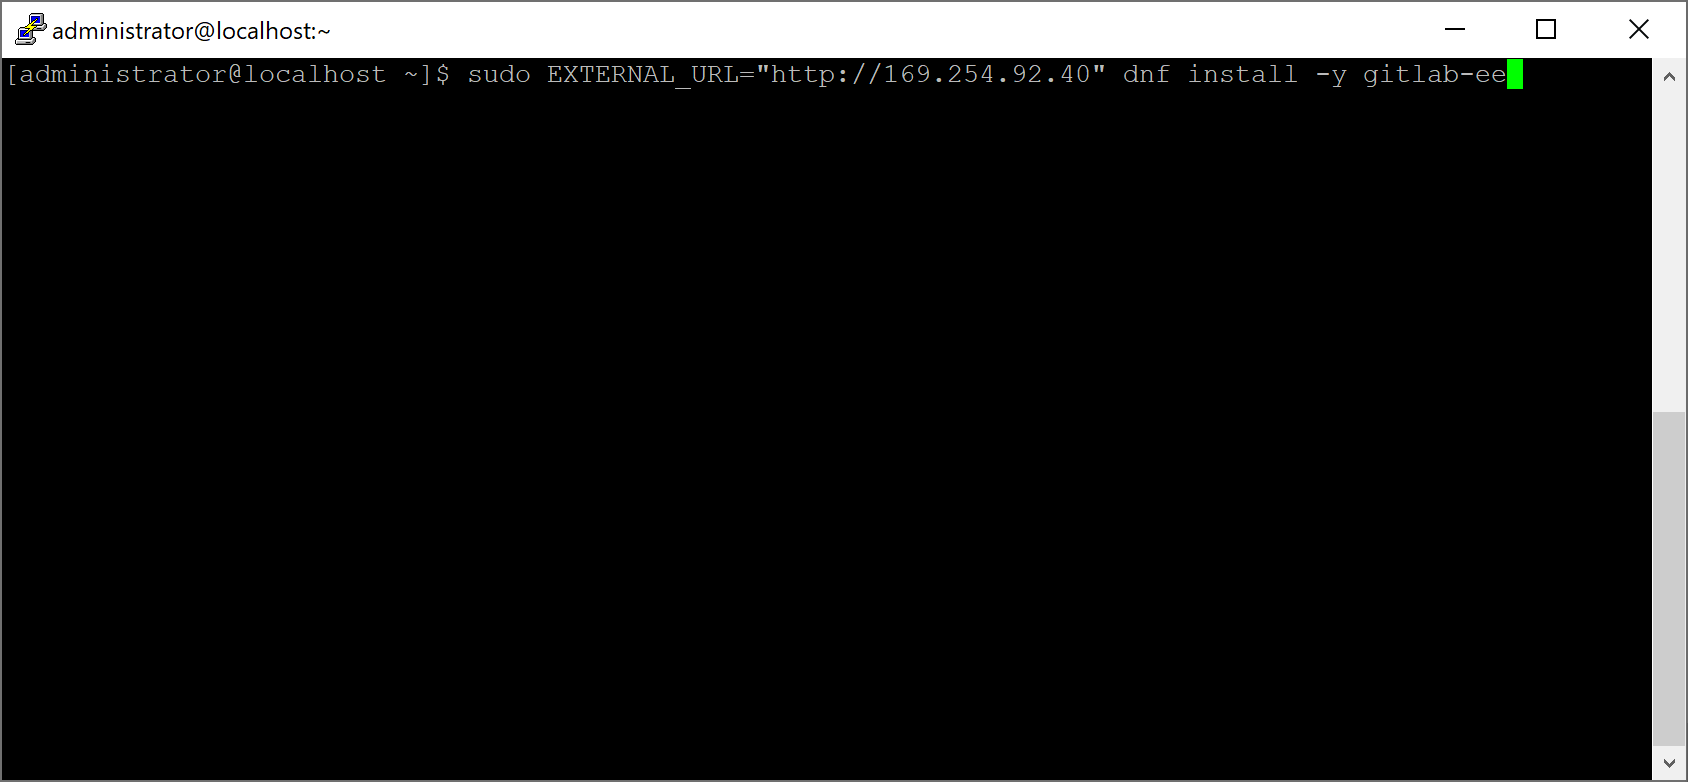
รอจนติดตั้งจนเสร็จเรียบร้อย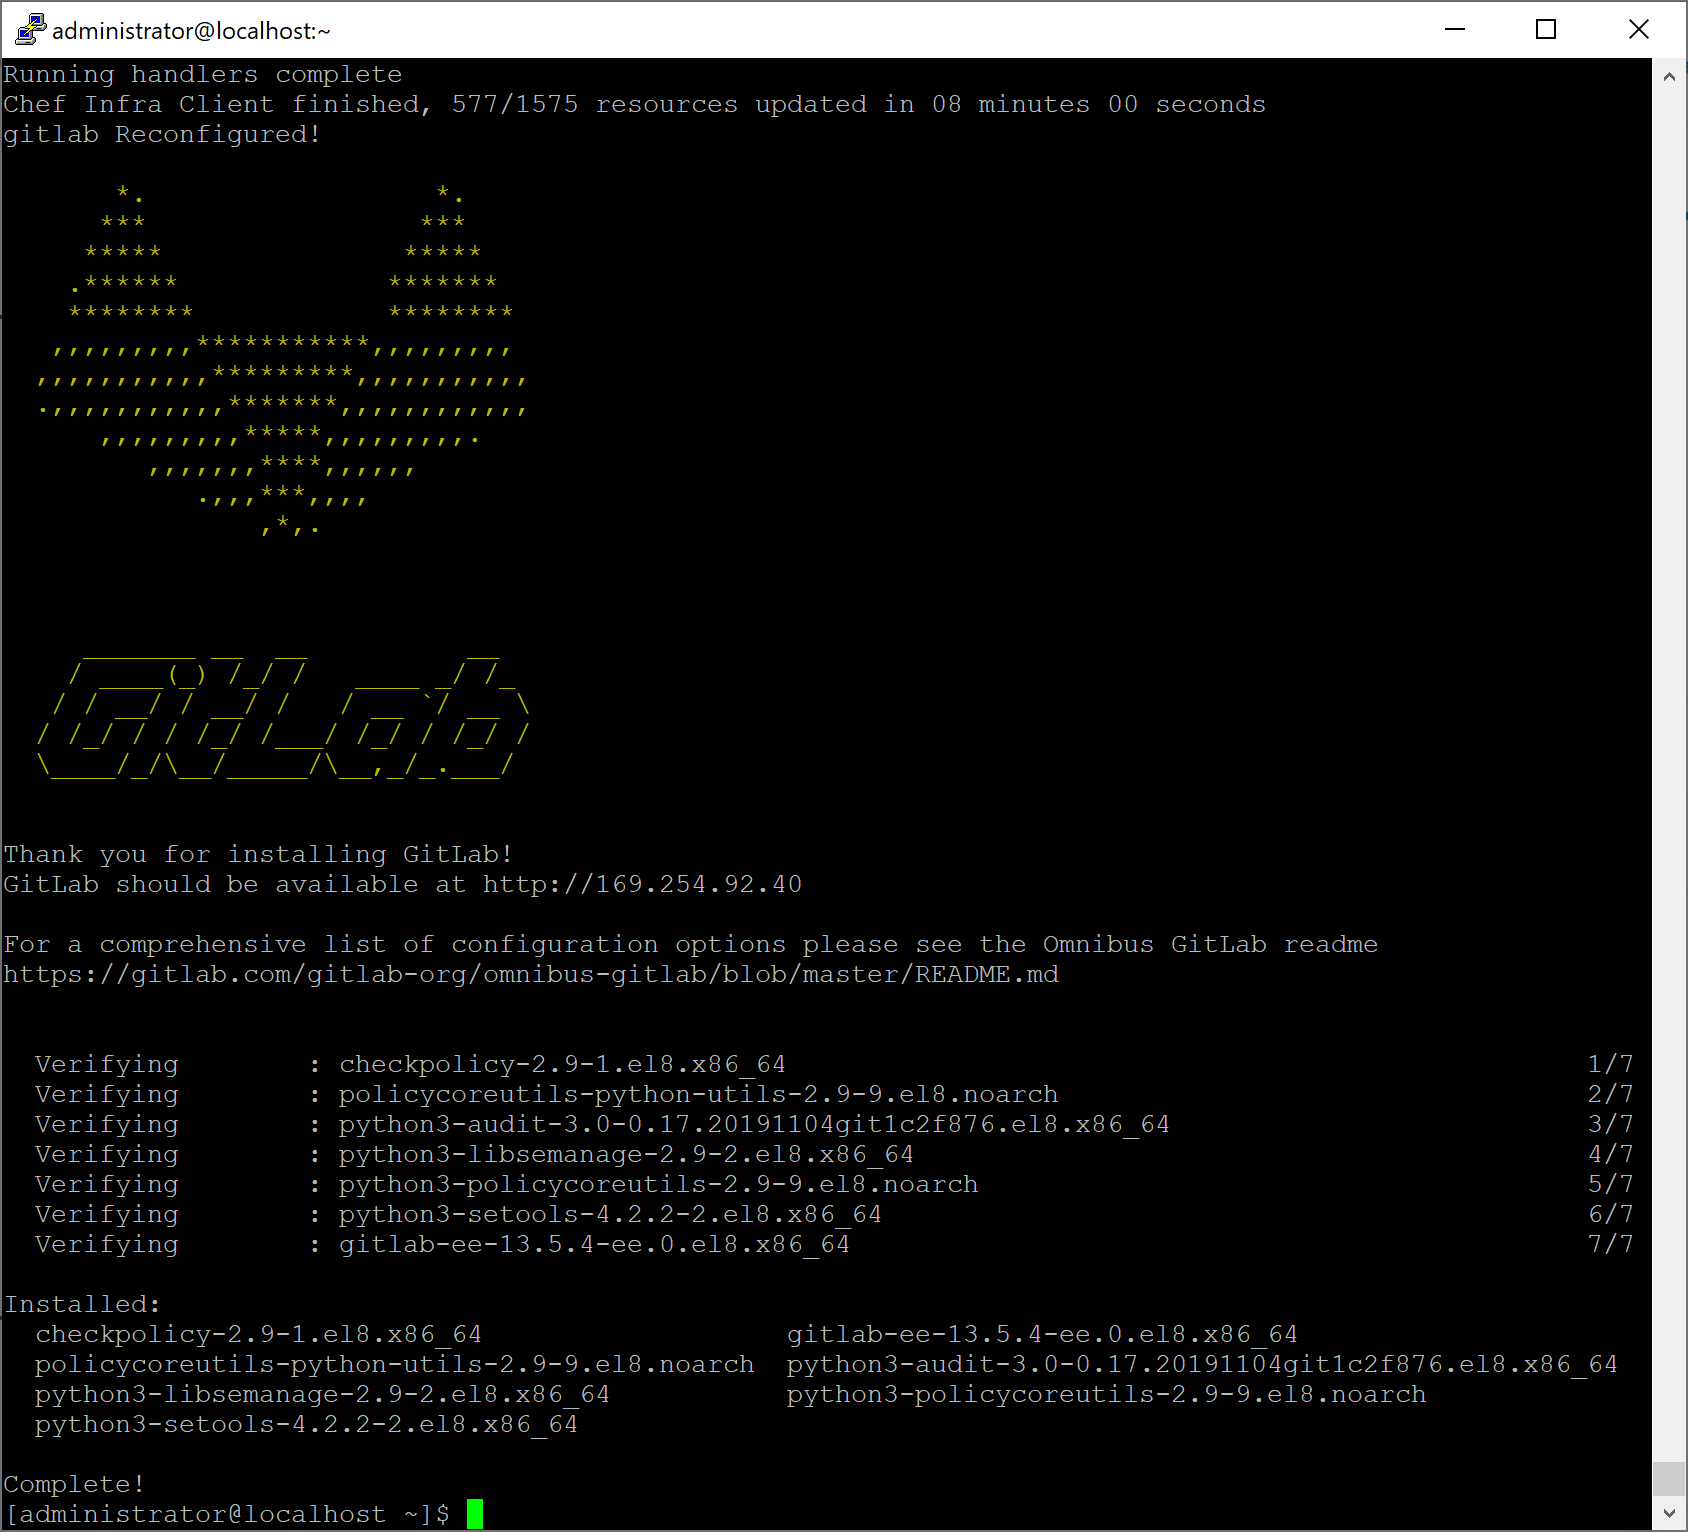
- เมื่อติดตั้งเสร็จสิ้นแล้ว เปิด Browser แล้วพิมพ์ URL Address ด้วย http://169.254.92.40

ทำสอบเข้าใช้งาน GitLab ด้วย ROOT
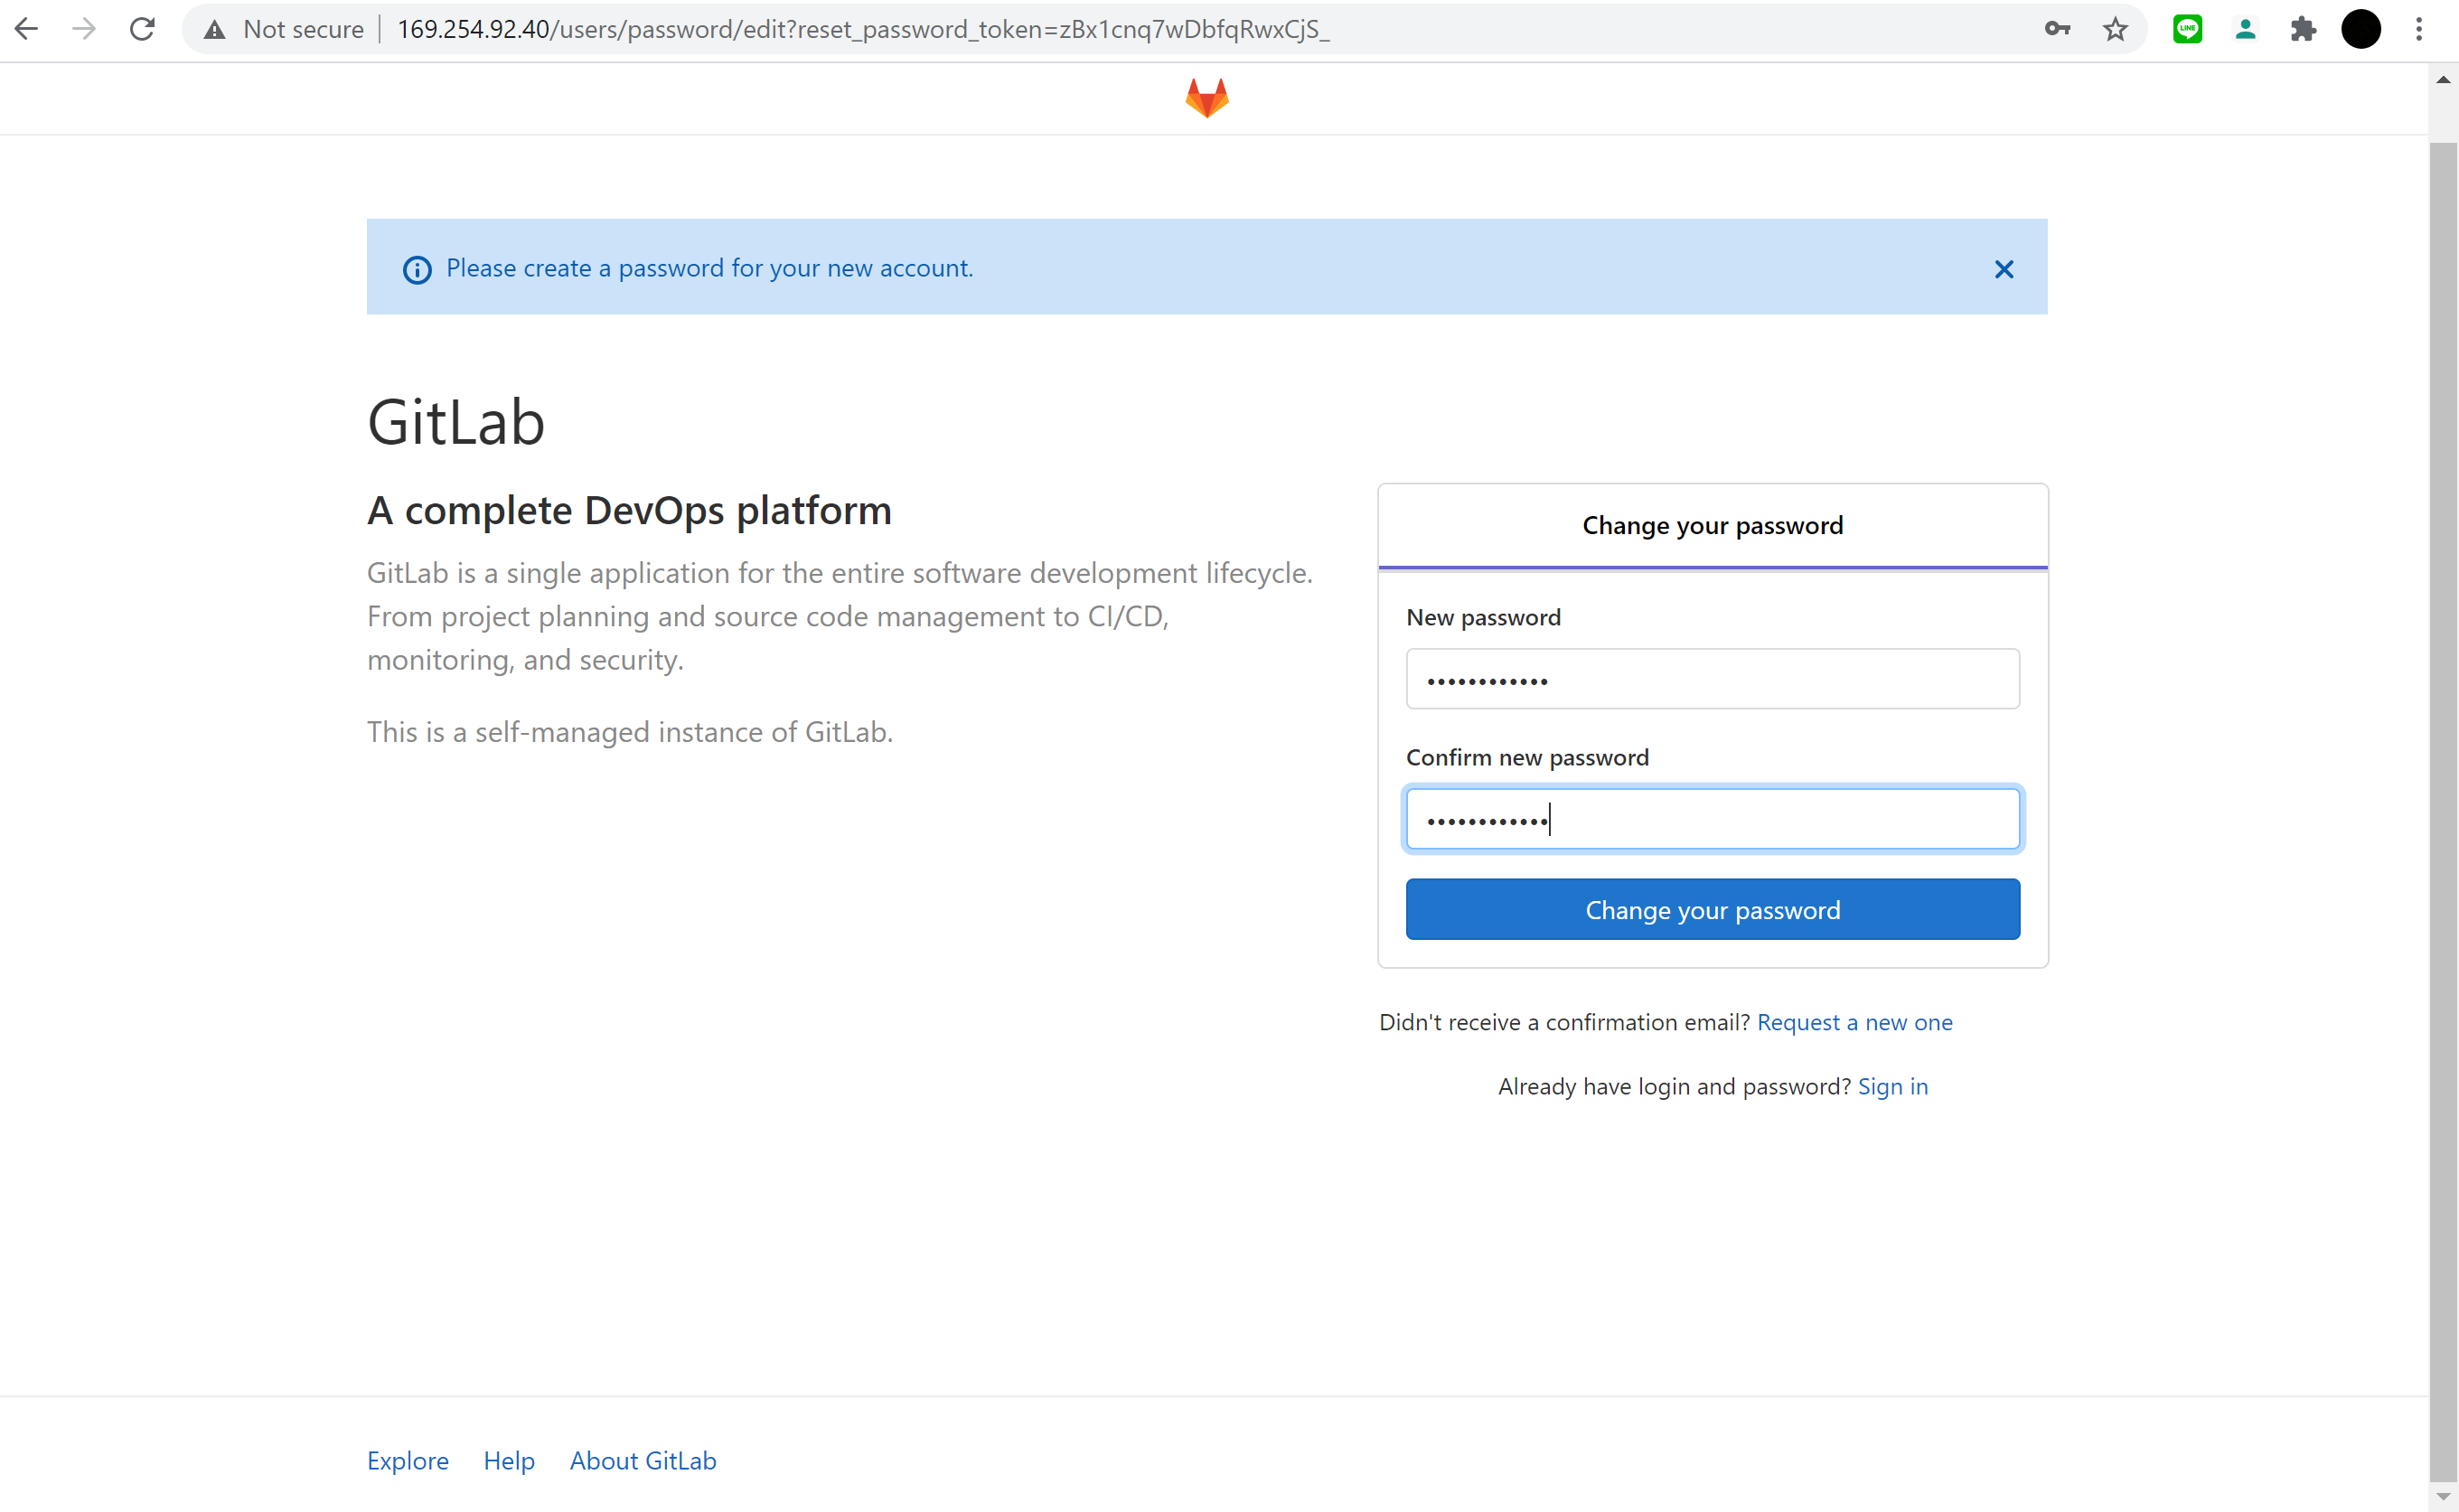
- เปิดเว็บบราวน์เซอร์ http://169.254.92.40
- กรอก Password เพื่อเป็นหรัสผ่านของ root จากนั้นกดปุ่ม Change your password
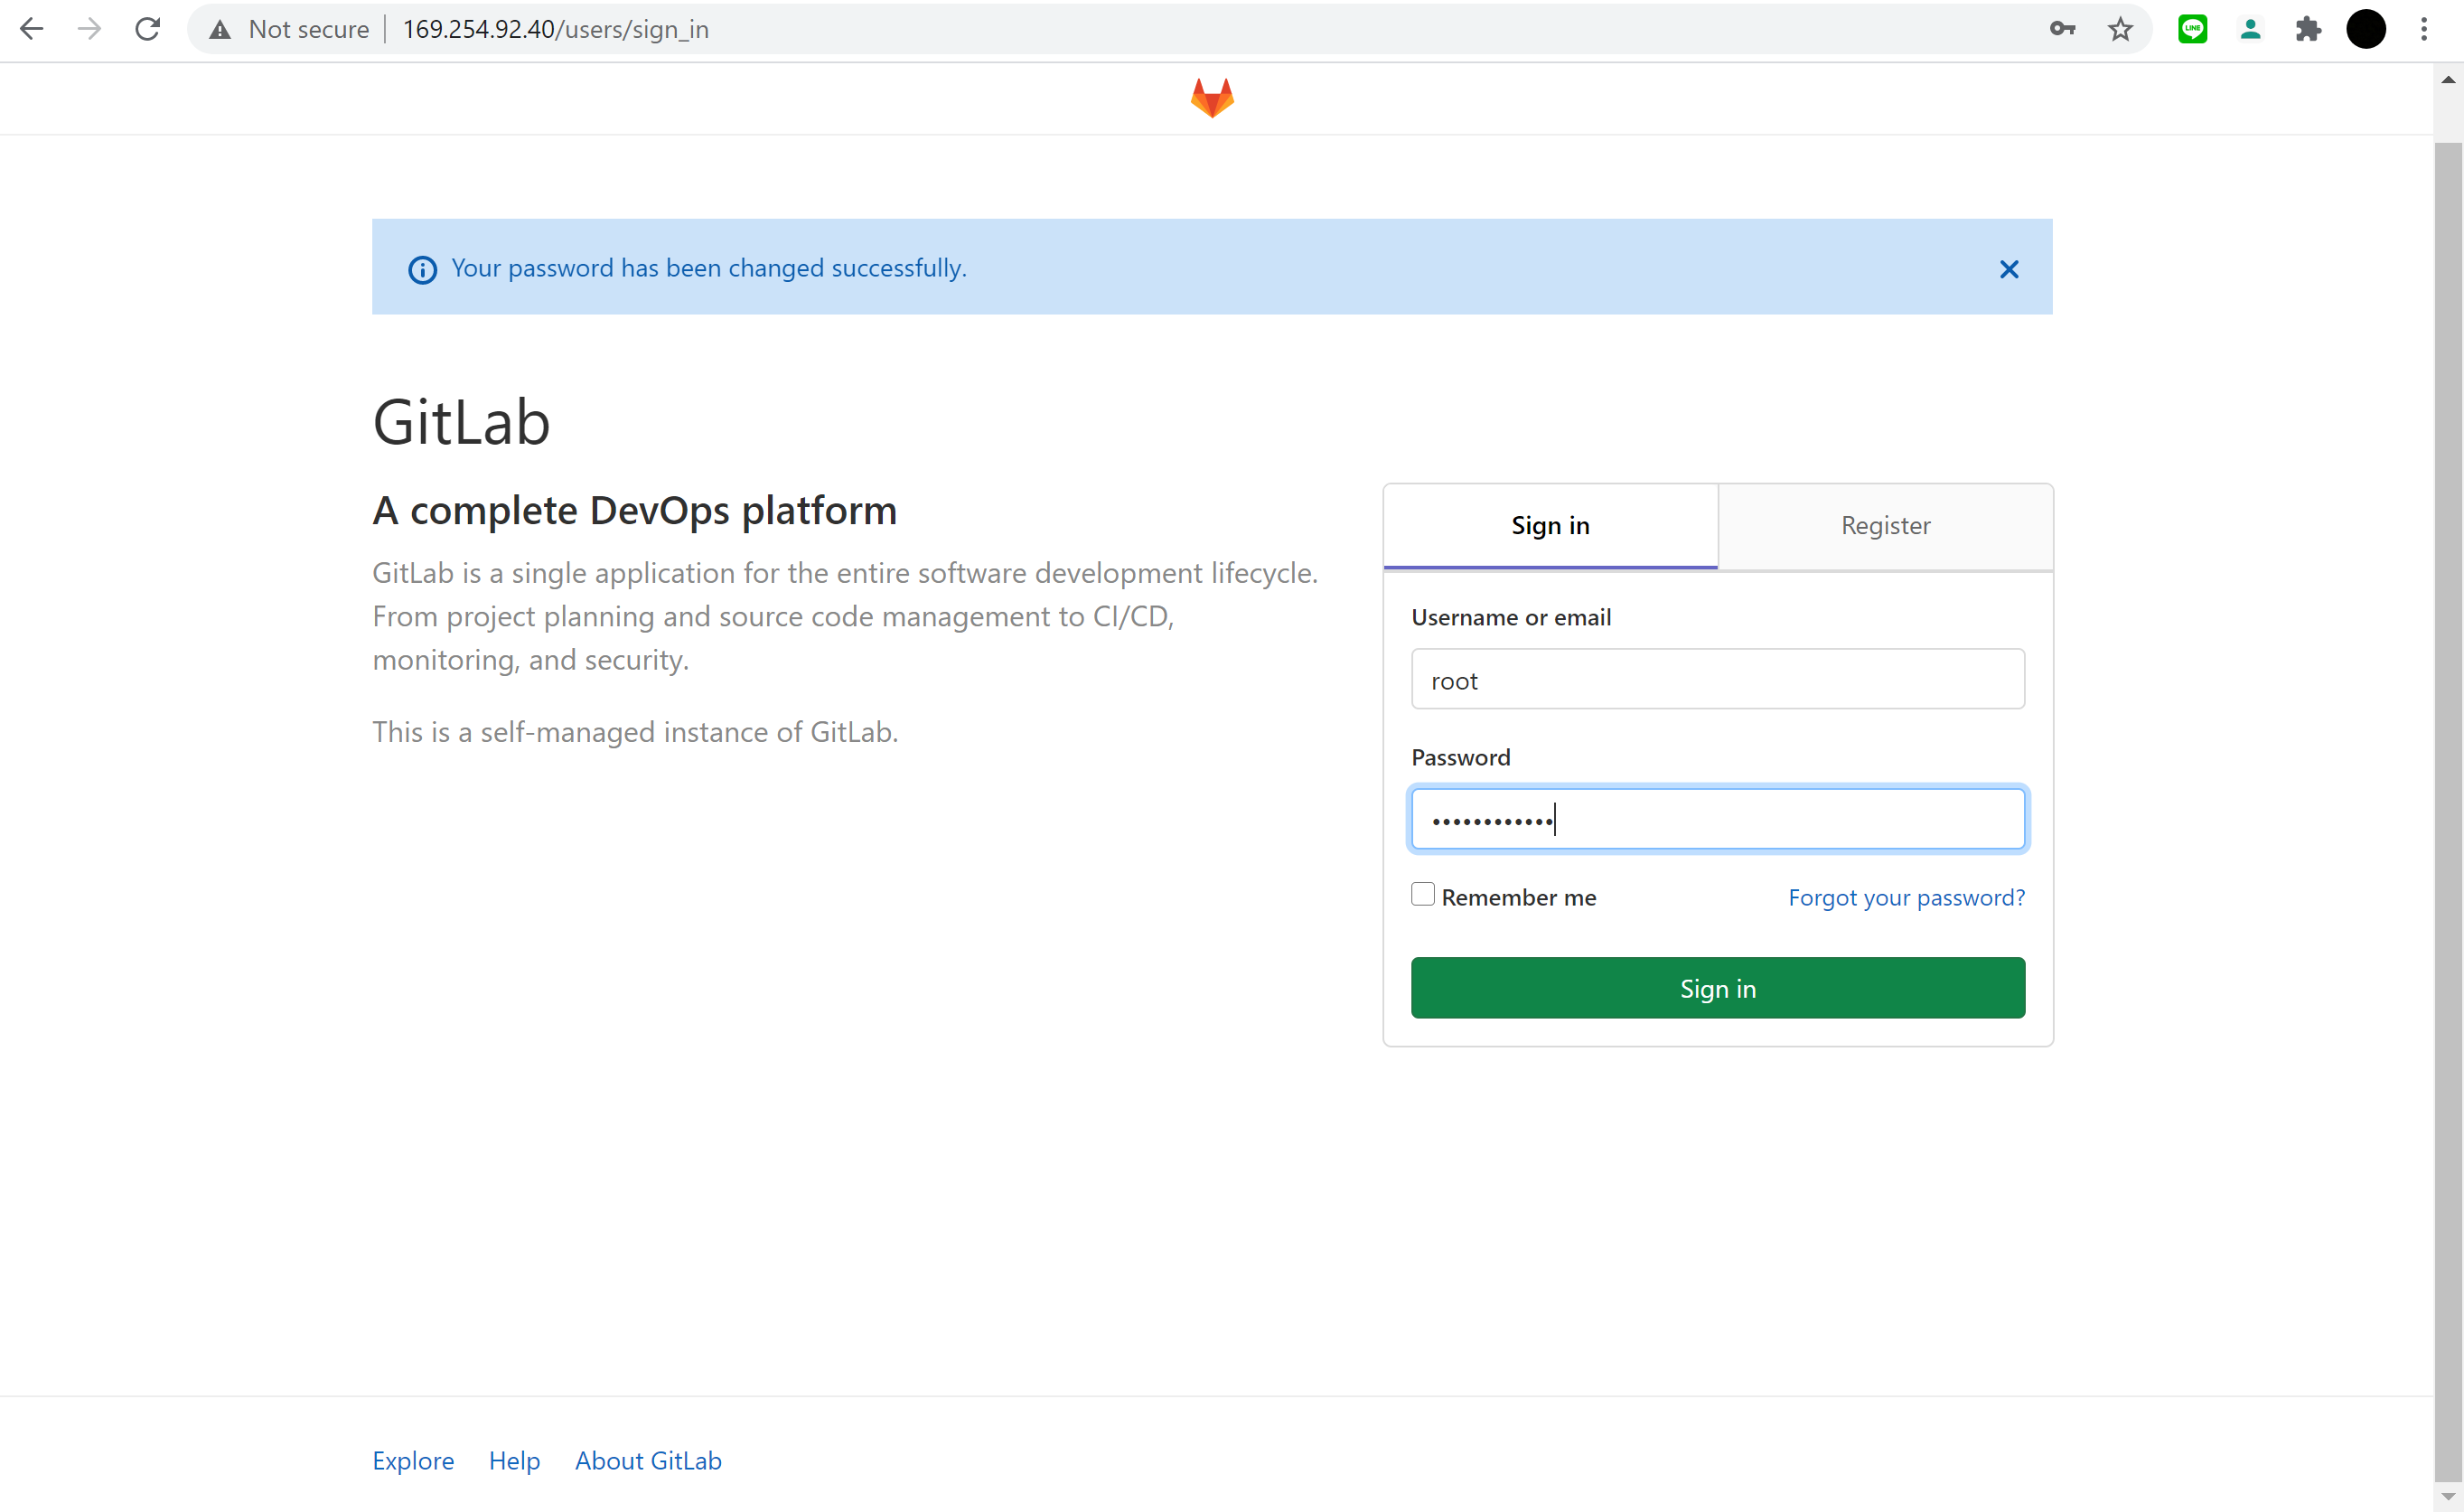
หลังจากนั้นจพขึ้นข้อความว่าเปลี่ยนรหัสผ่านสำเร็จ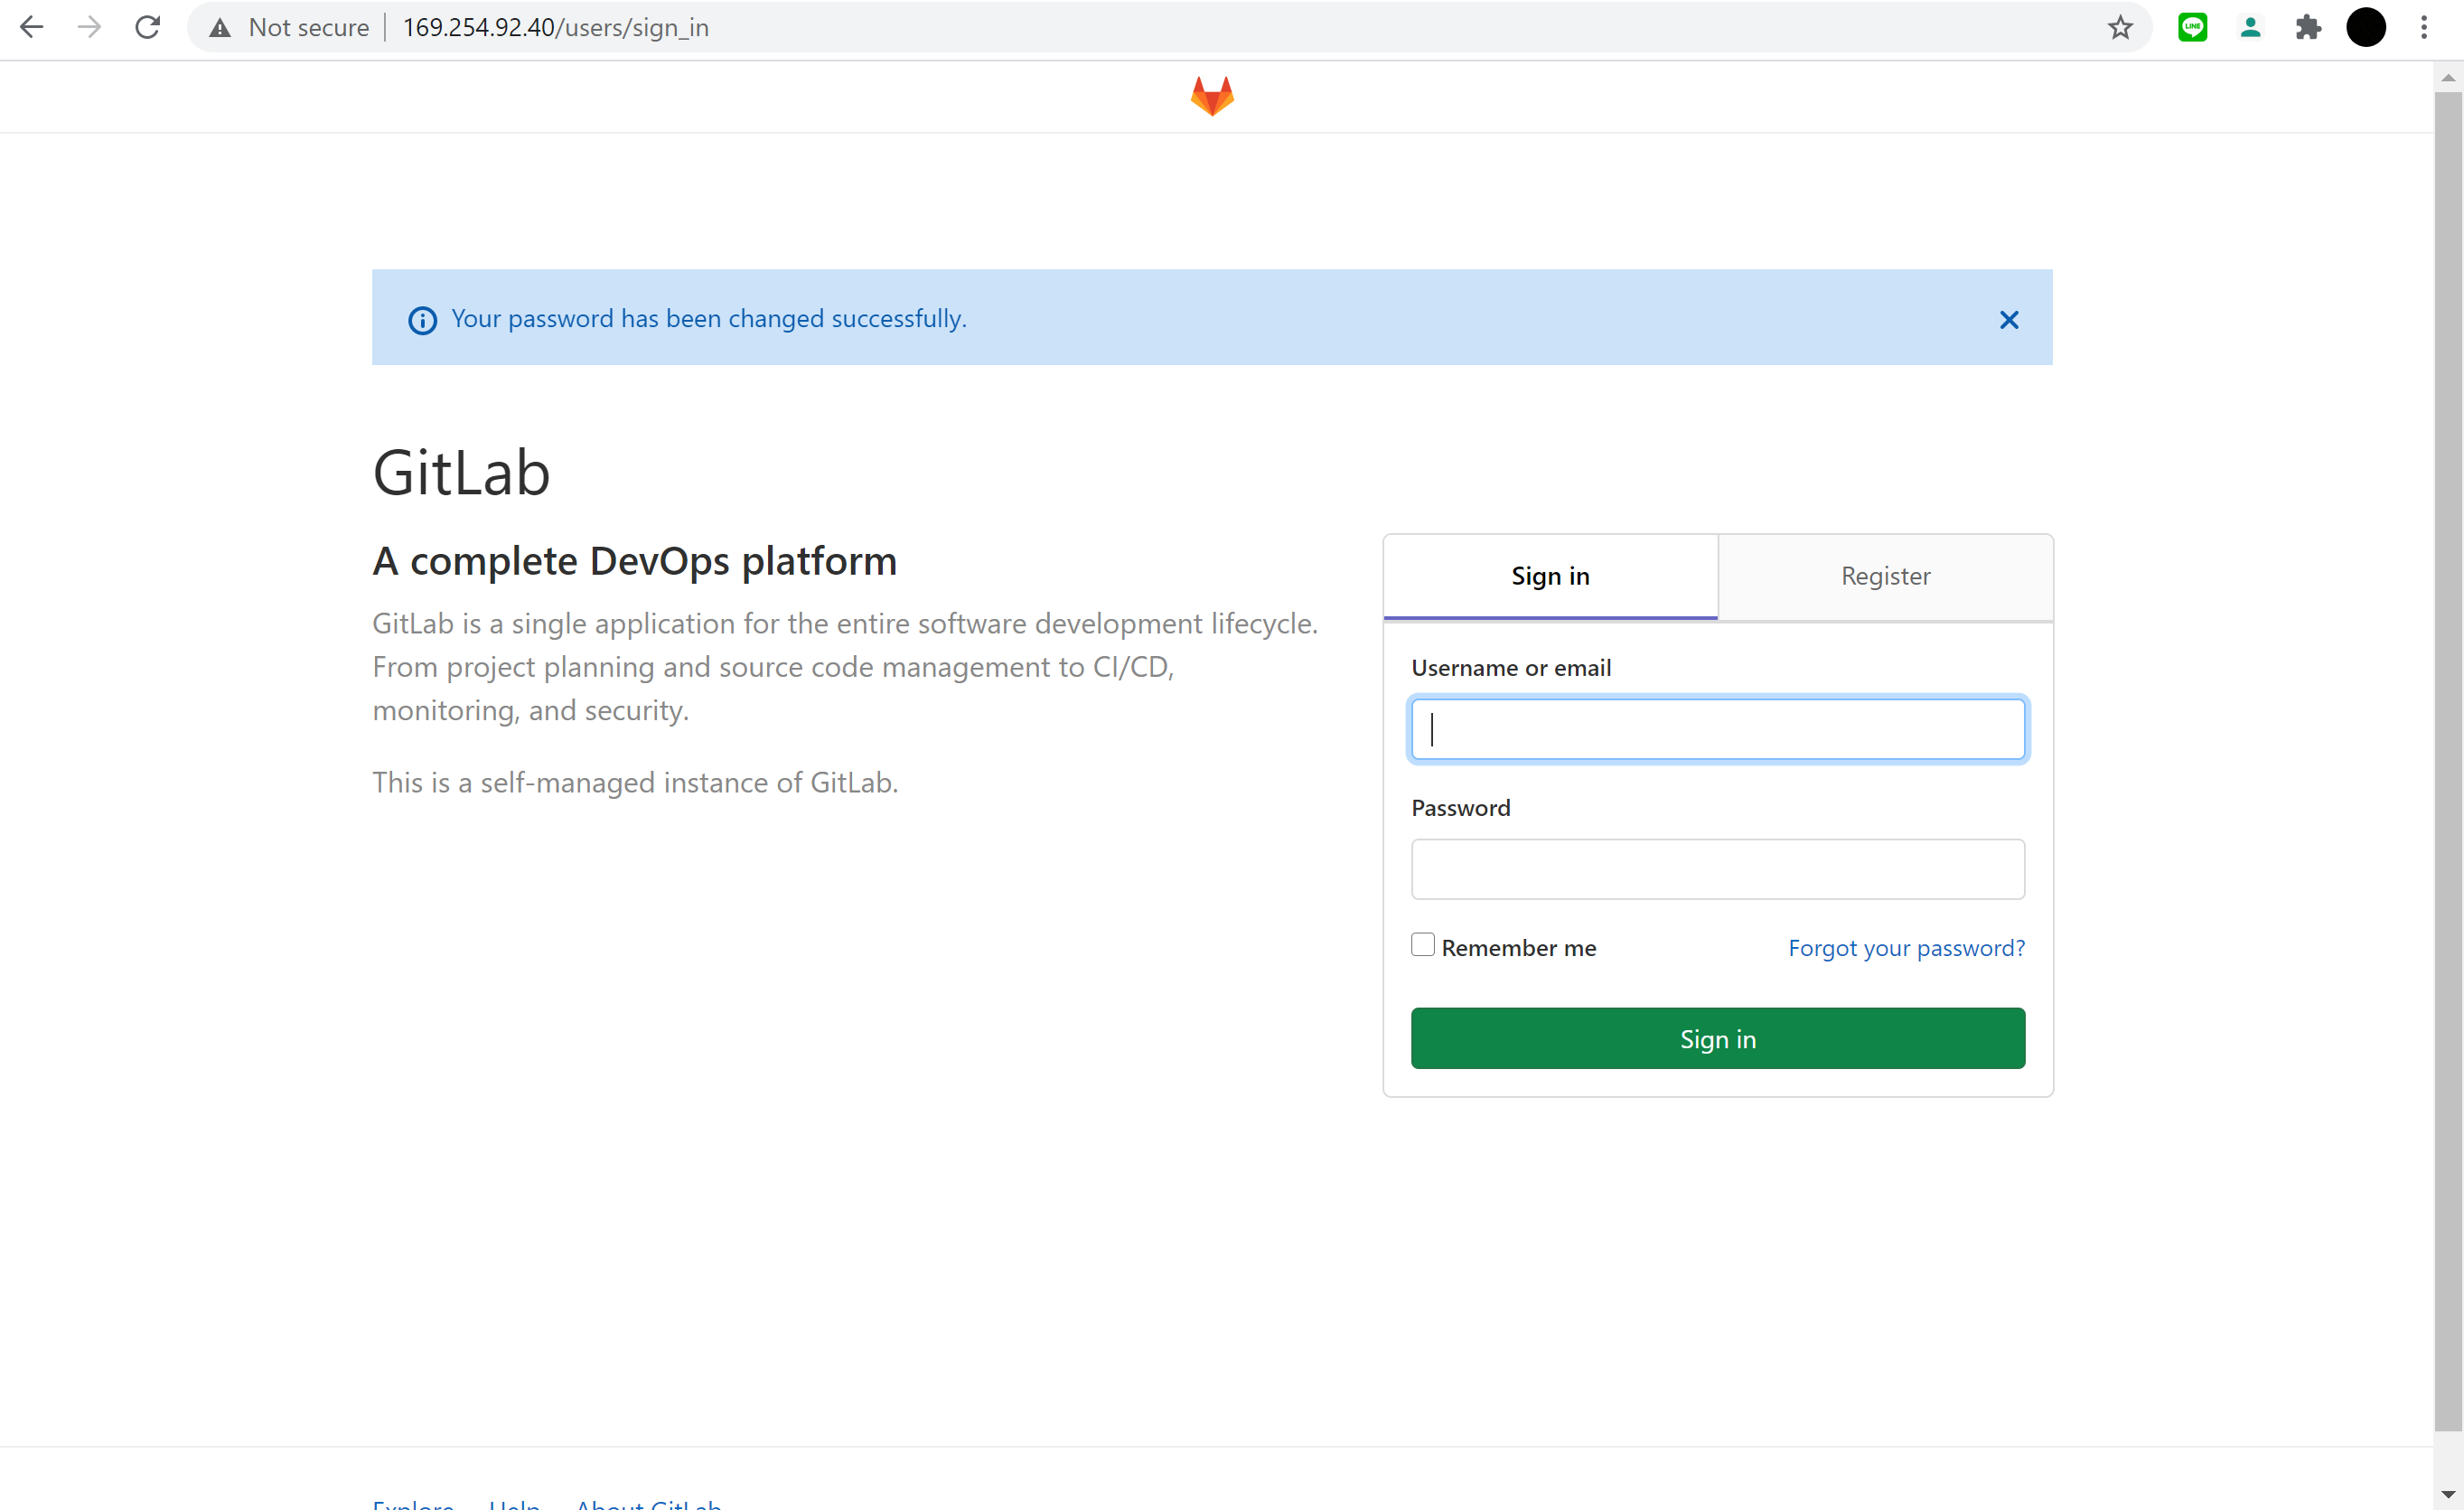
- กรอก user: root และ password: ที่เพิ่งใส่ในขั้นตอนที่ 2 แล้วกดปุ่ม Sign in
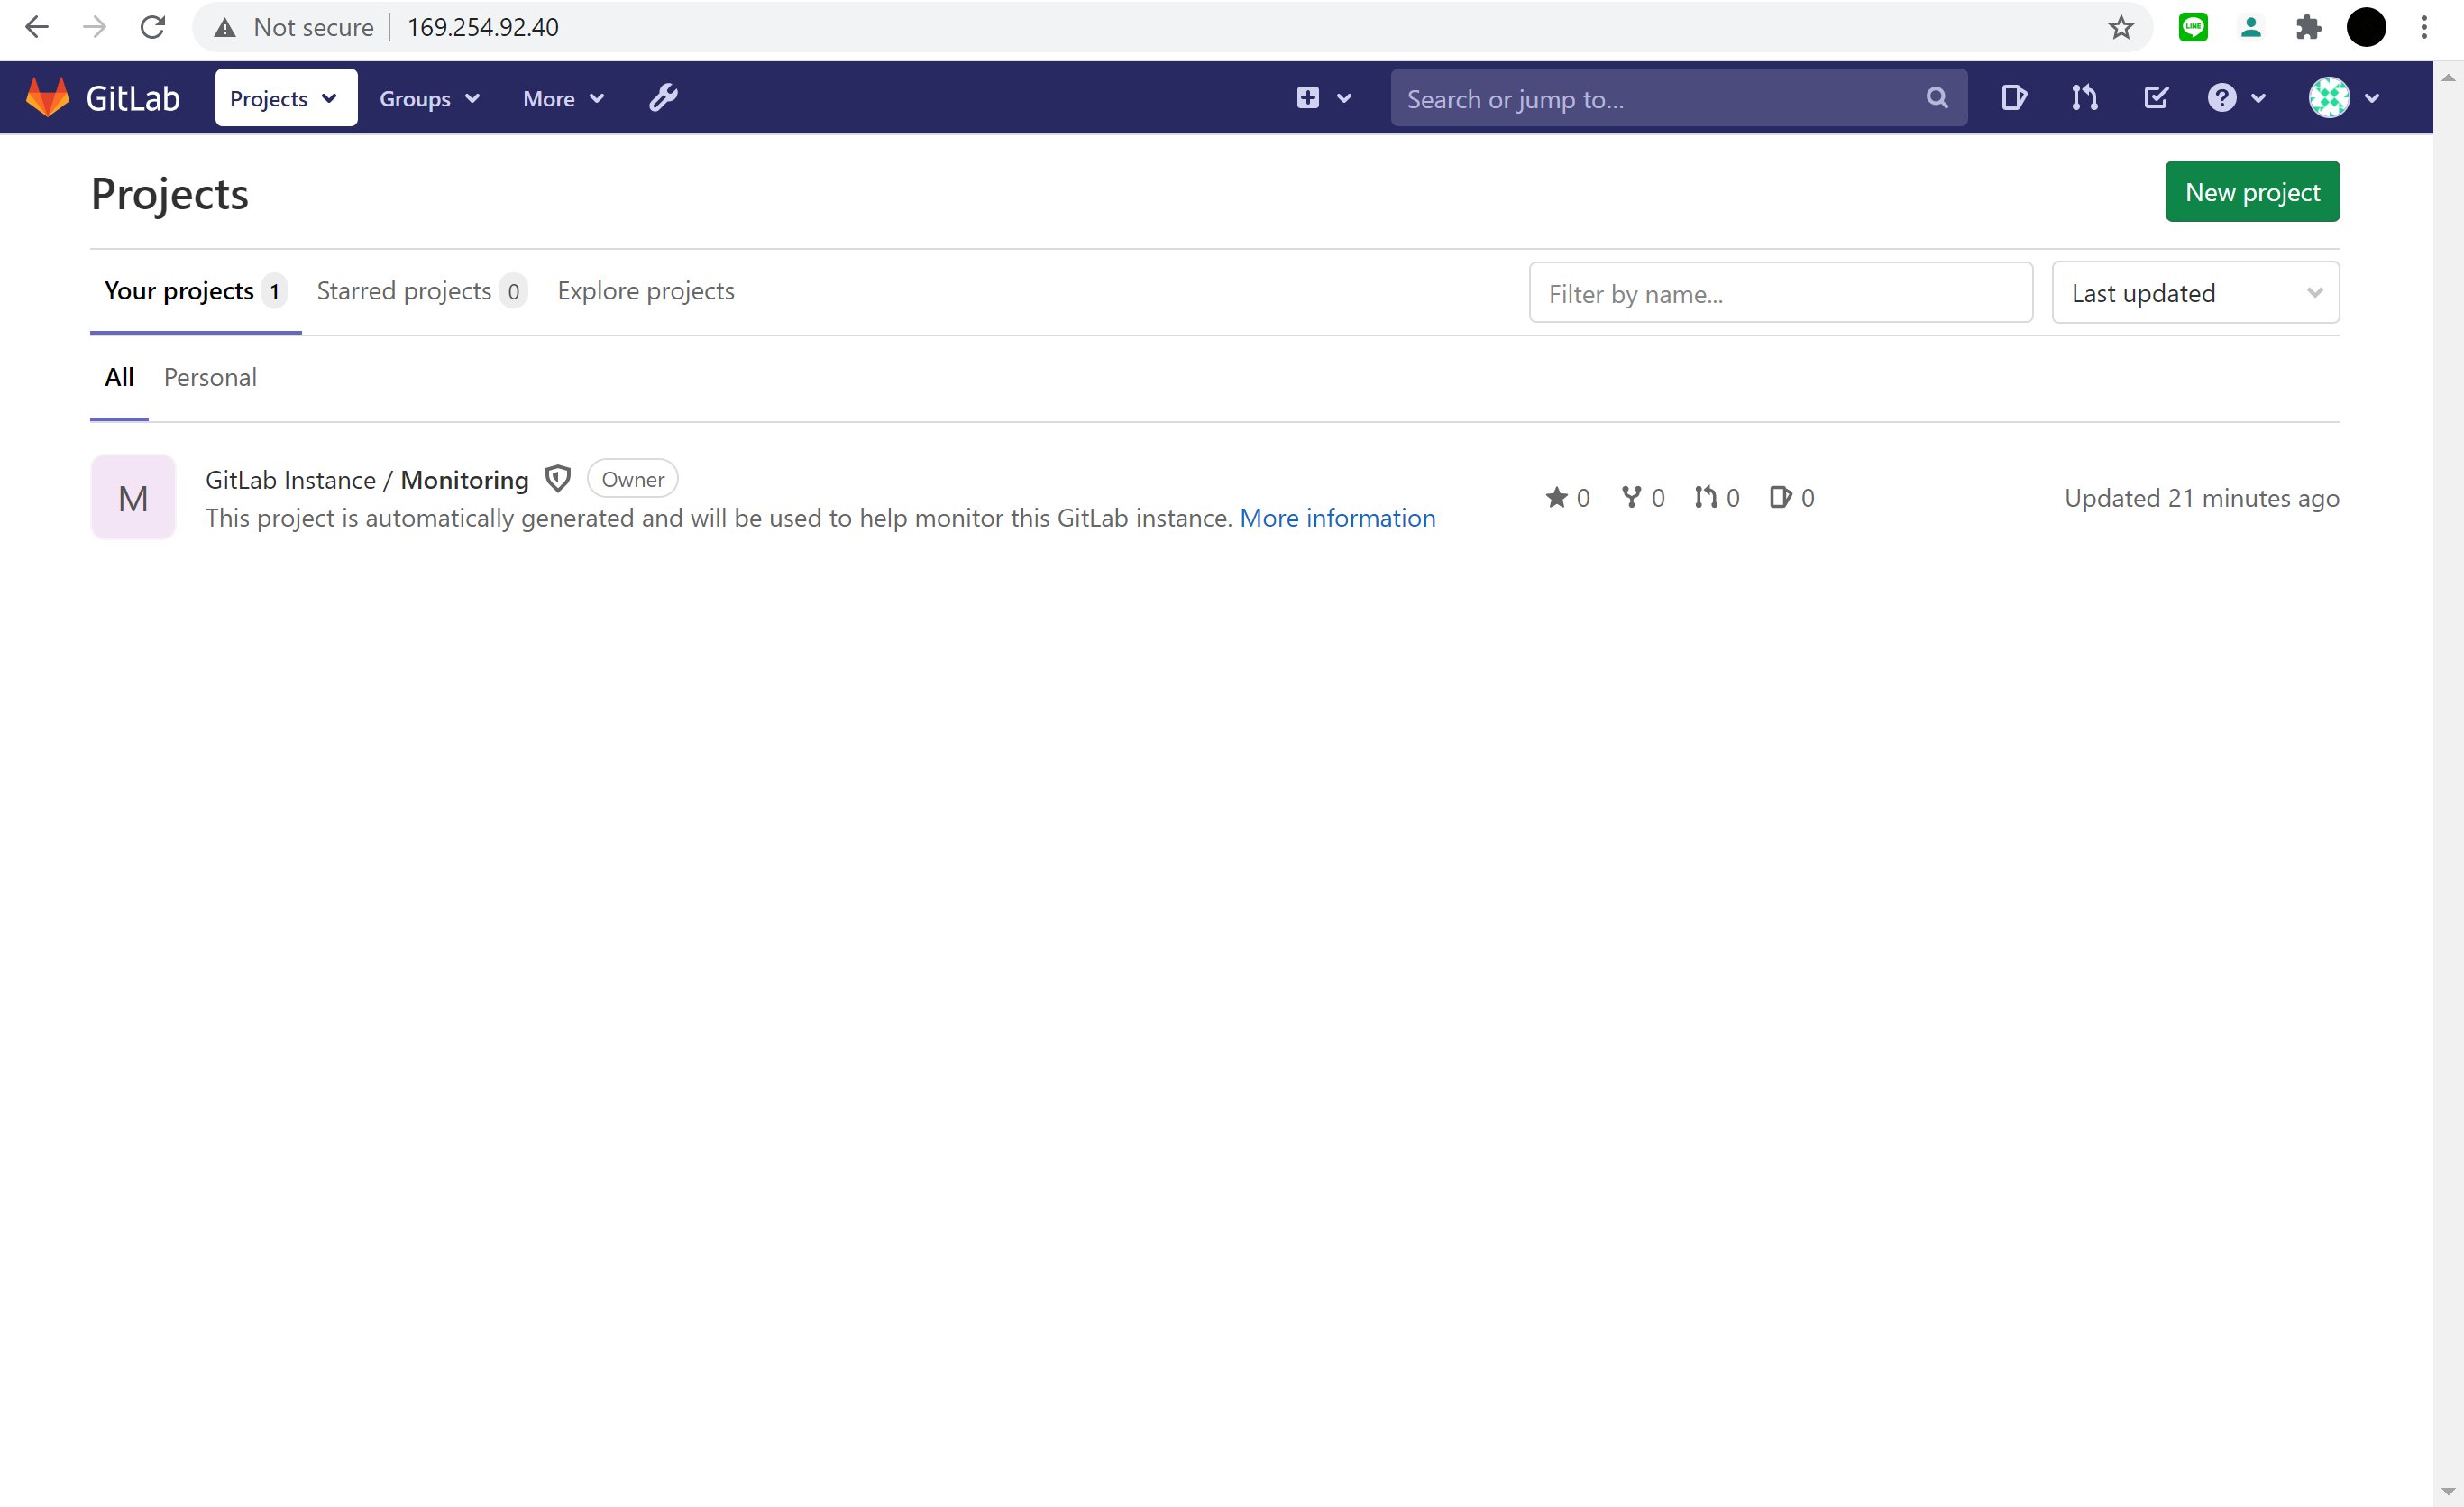
- Sign in สำเร็จจะเข้าสู่หน้า GitLab Home
- เสร็จสิ้นการติดตั้ง GitLab
การ Start และ Stop โปรแกรม GitLab
- Status of GitLab
$sudo gitlab-ctl status - Start all GitLab components
$sudo gitlab-ctl start - Stop all GitLab components
$sudo gitlab-ctl stop - Restart all GitLab components
$sudo gitlab-ctl restart
ใช้งาน GitLab เบื้องต้น
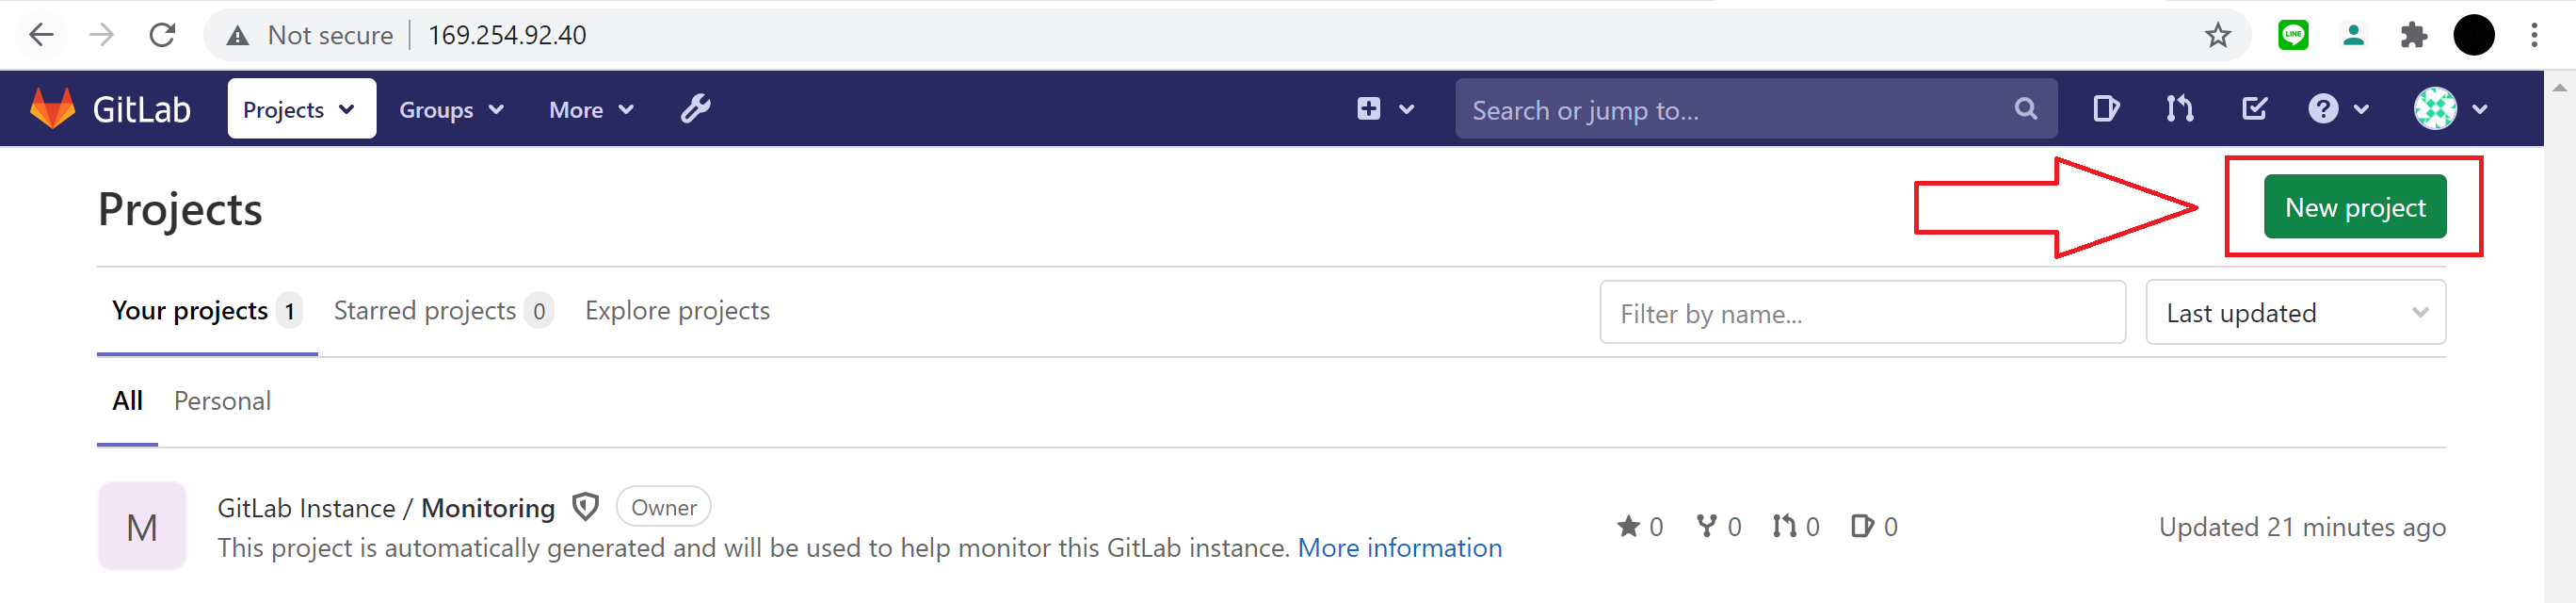
- สร้าง Blank project ชื่อ HelloGitLab โดยเข้าไปที่หน้า Home แล้วกดปุ่ม New Project
กรอกข้อมูลโปรเจ็กคร่าวๆ แล้วกดปุ่ม Create project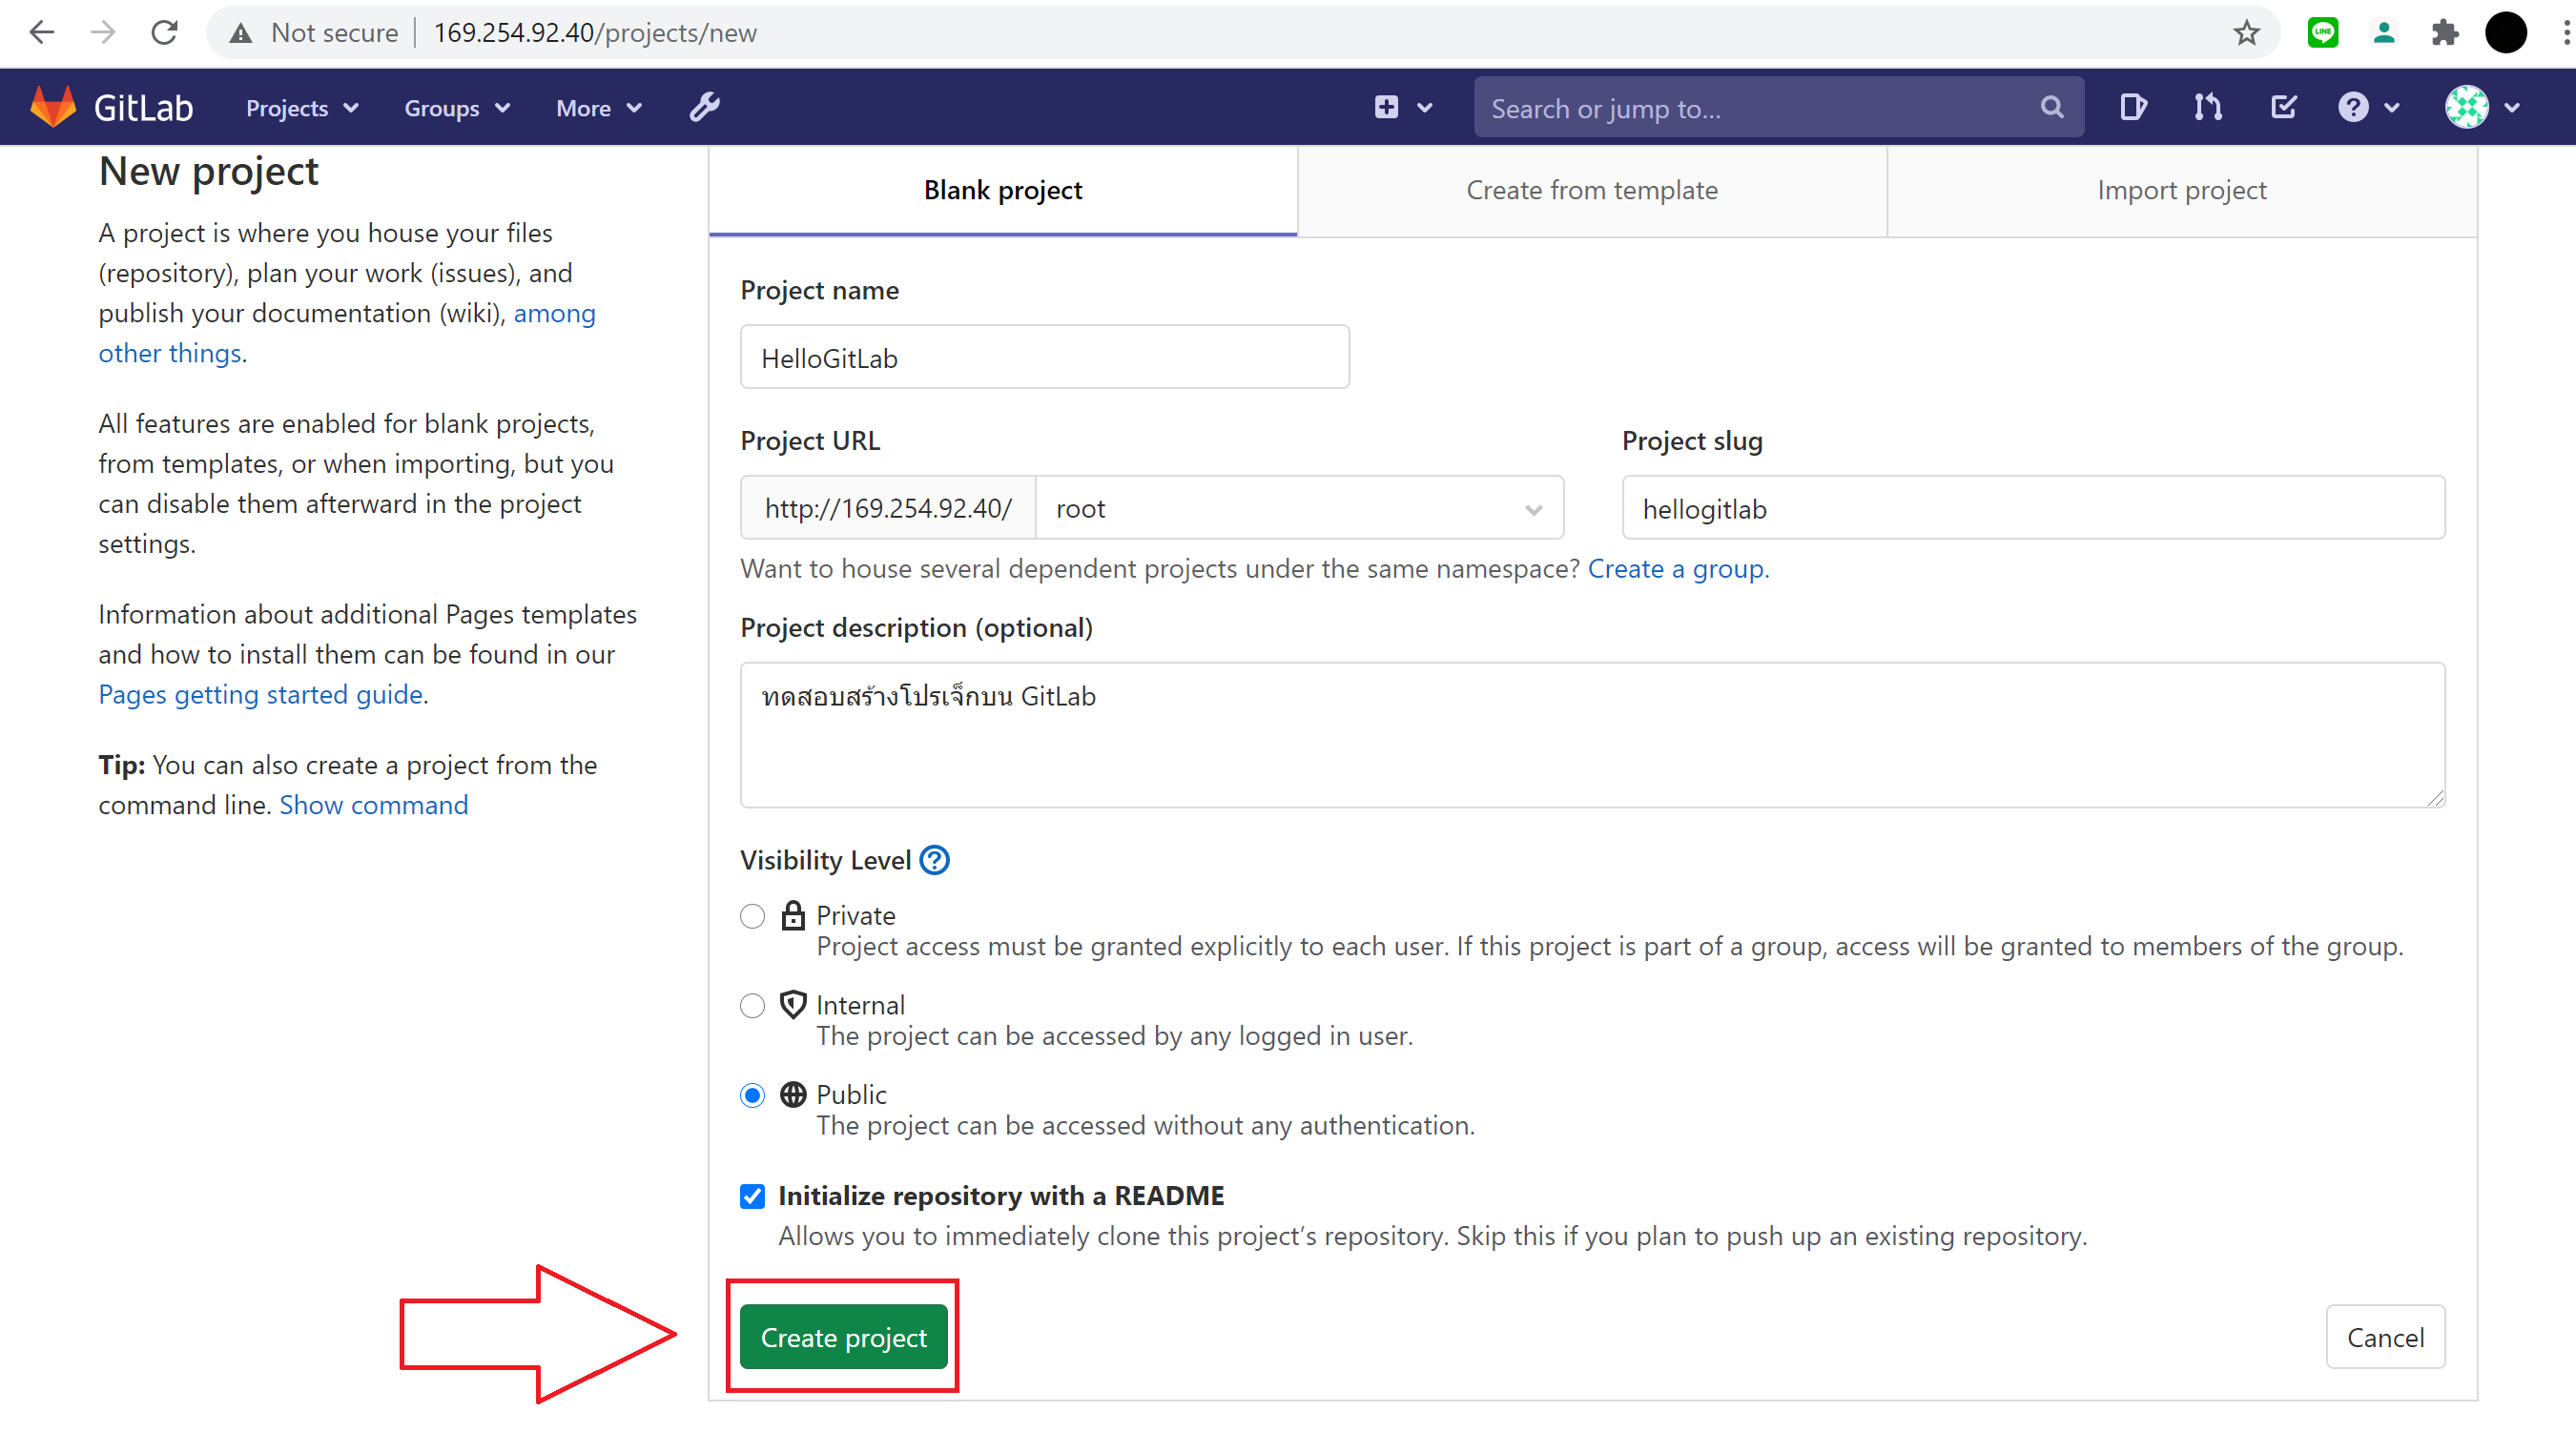
สร้างโปรเจ็กเรียบร้อย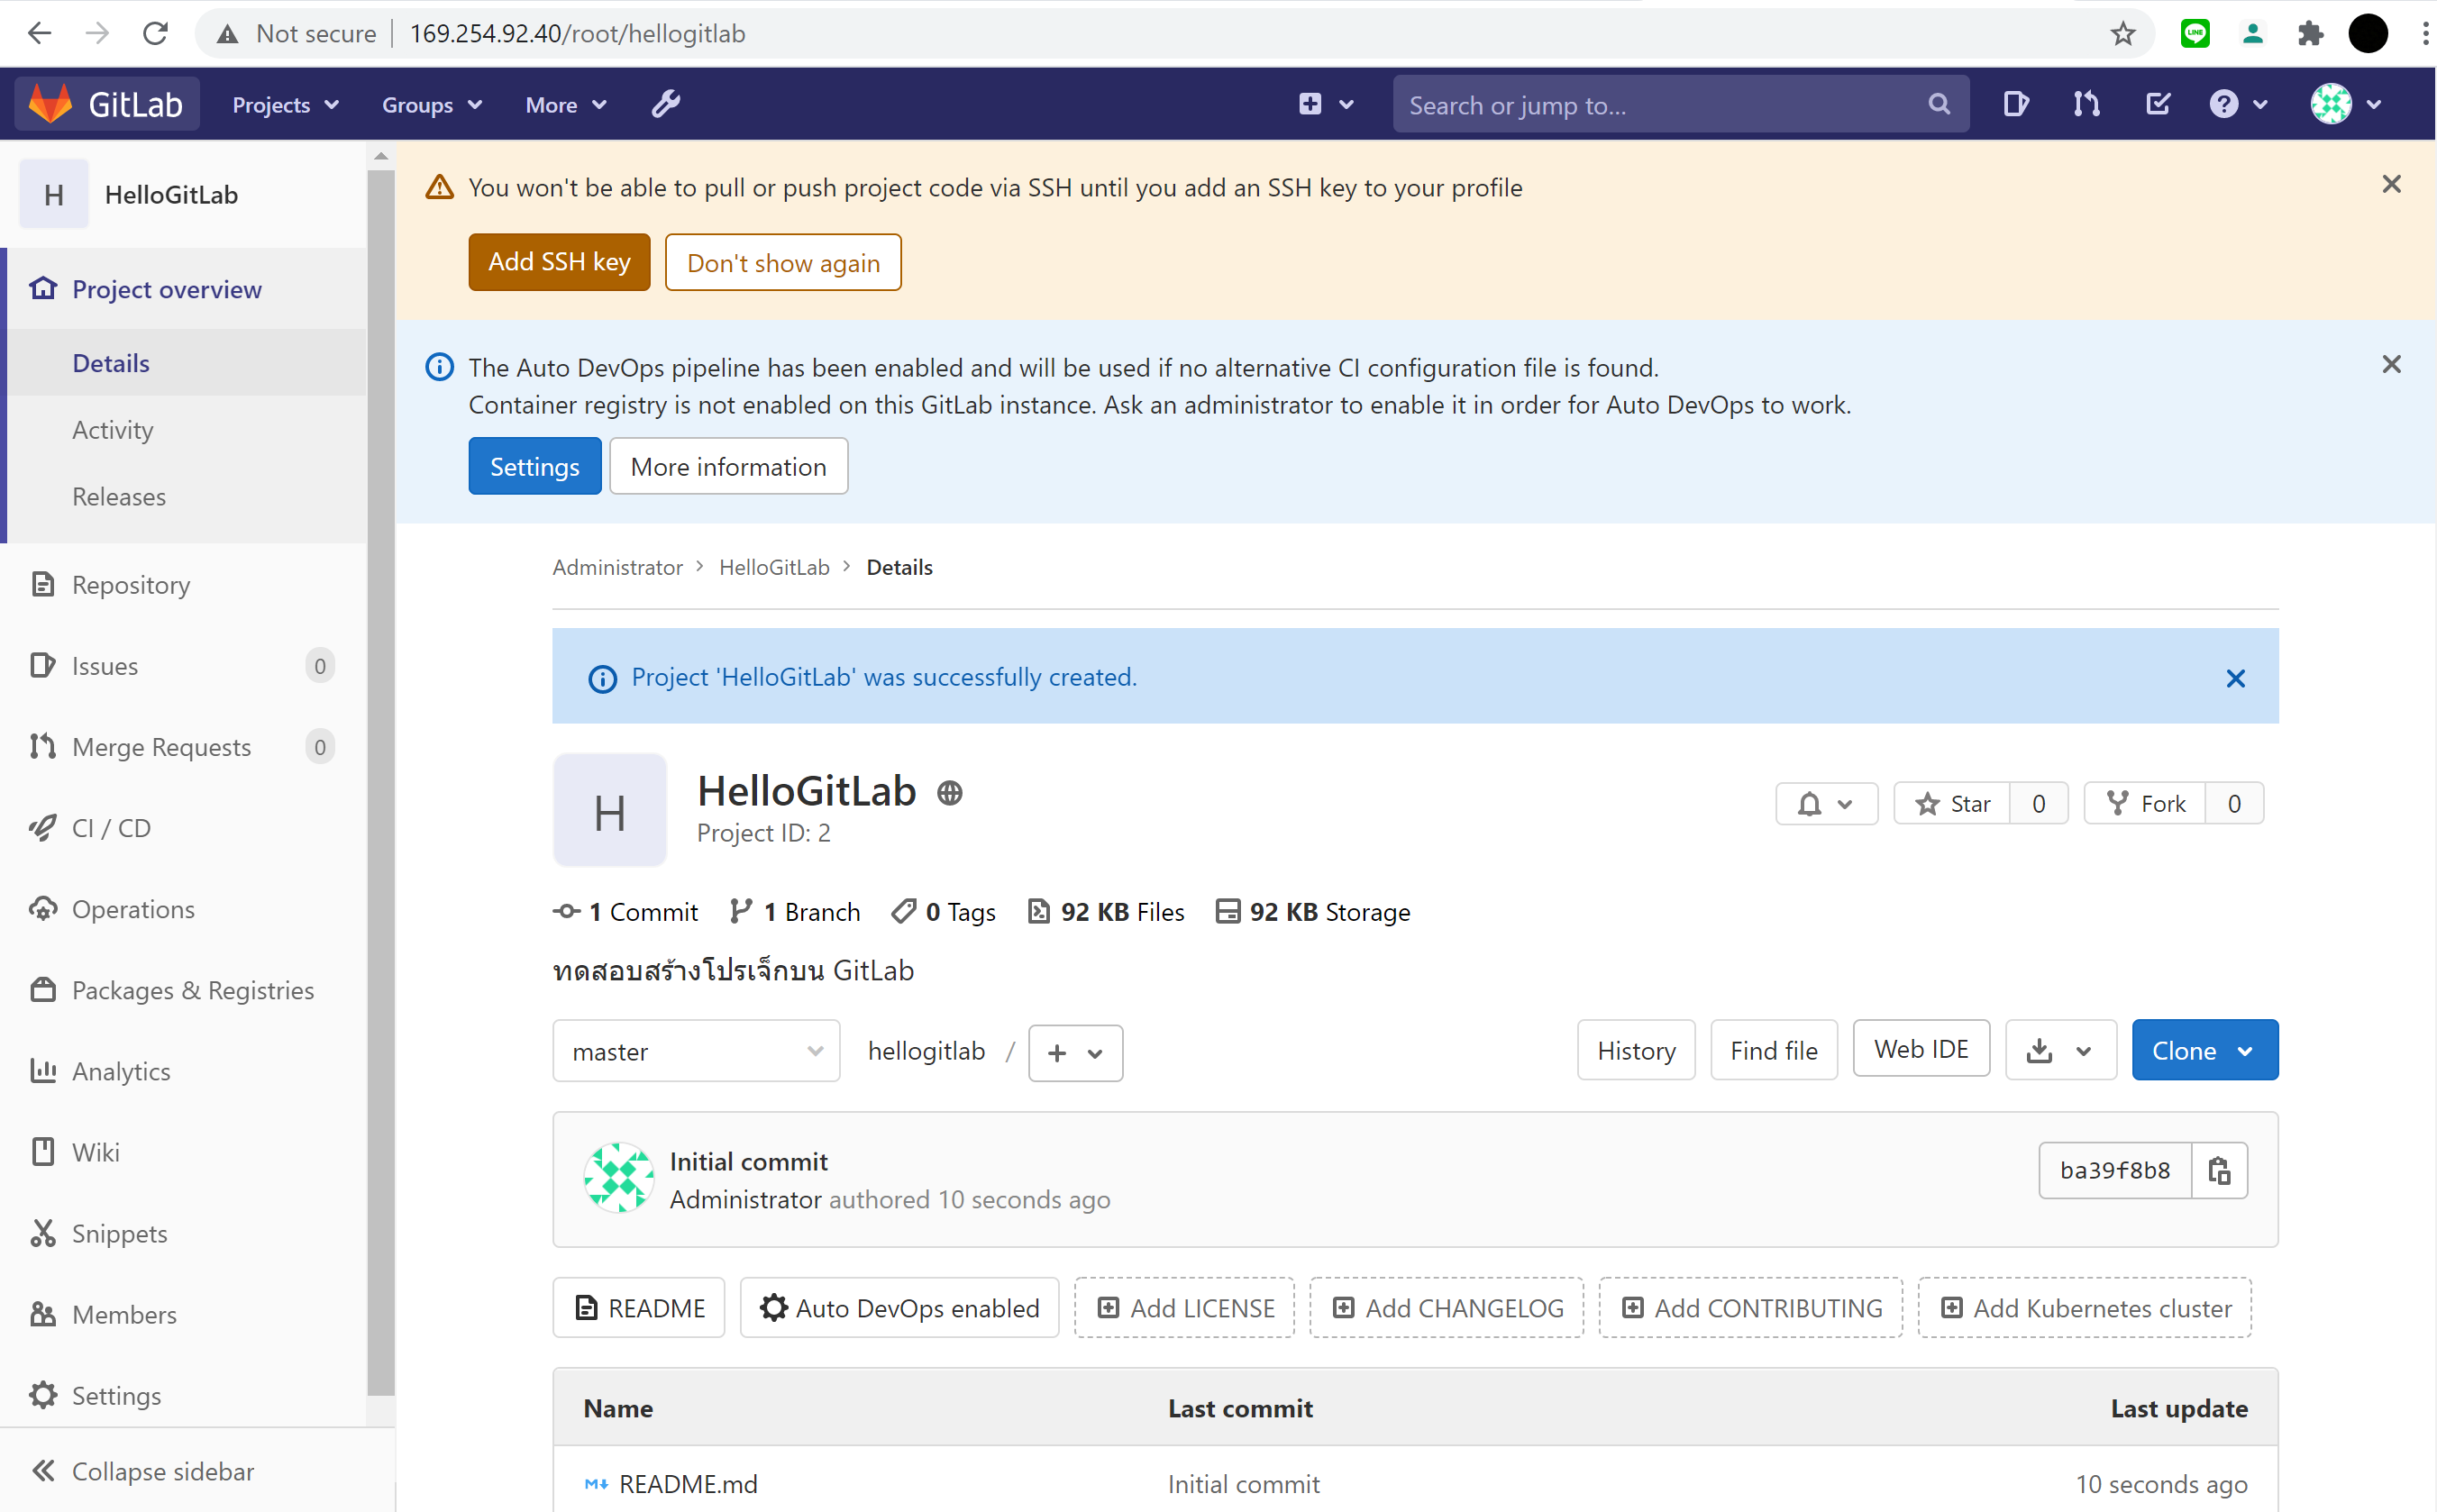
- ใช้คำสั่ง git: clone เพื่อทดสอบการดึง Repository มาไว้ที่เครื่อง Development
โดยคลิกที่ ปุ่ม clone แล้ว copy URL ที่ Clone with HTTP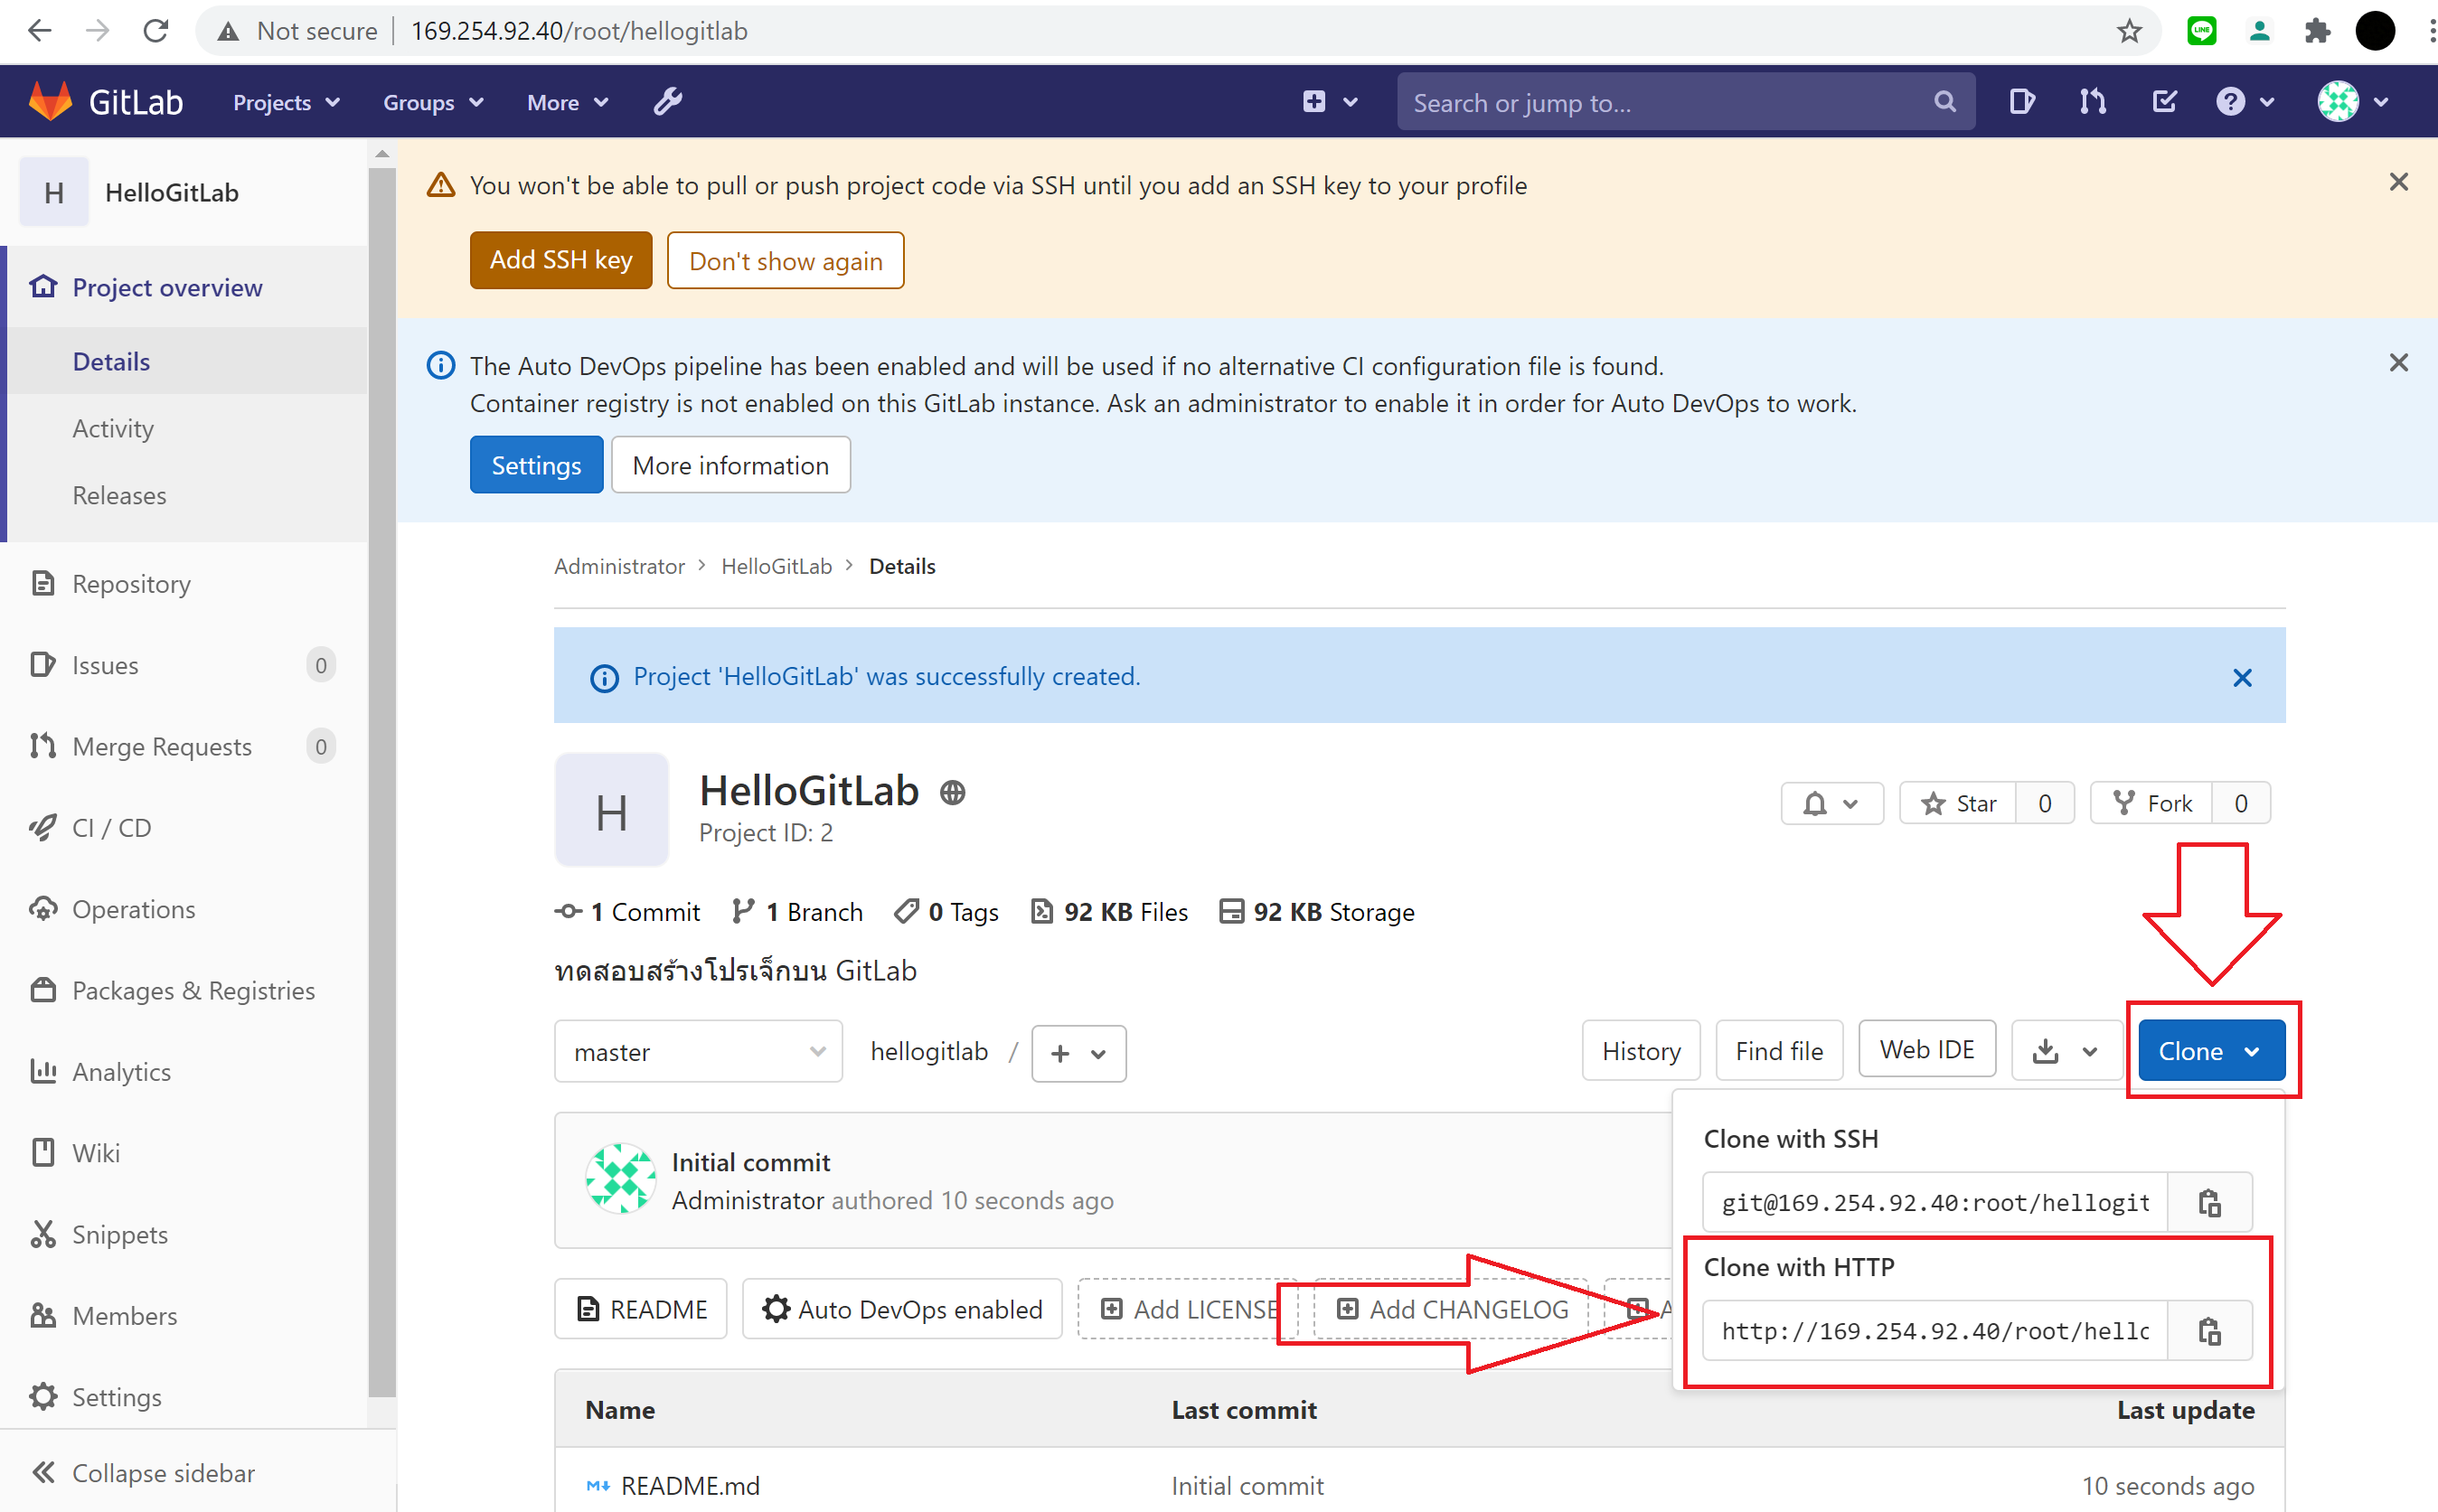
จากนั้นเปิดโปรแกรม Git Client เพื่อ Clone โปรเจ็ก สามารถดาวน์โหลด Git Client ได้จาก ที่นี่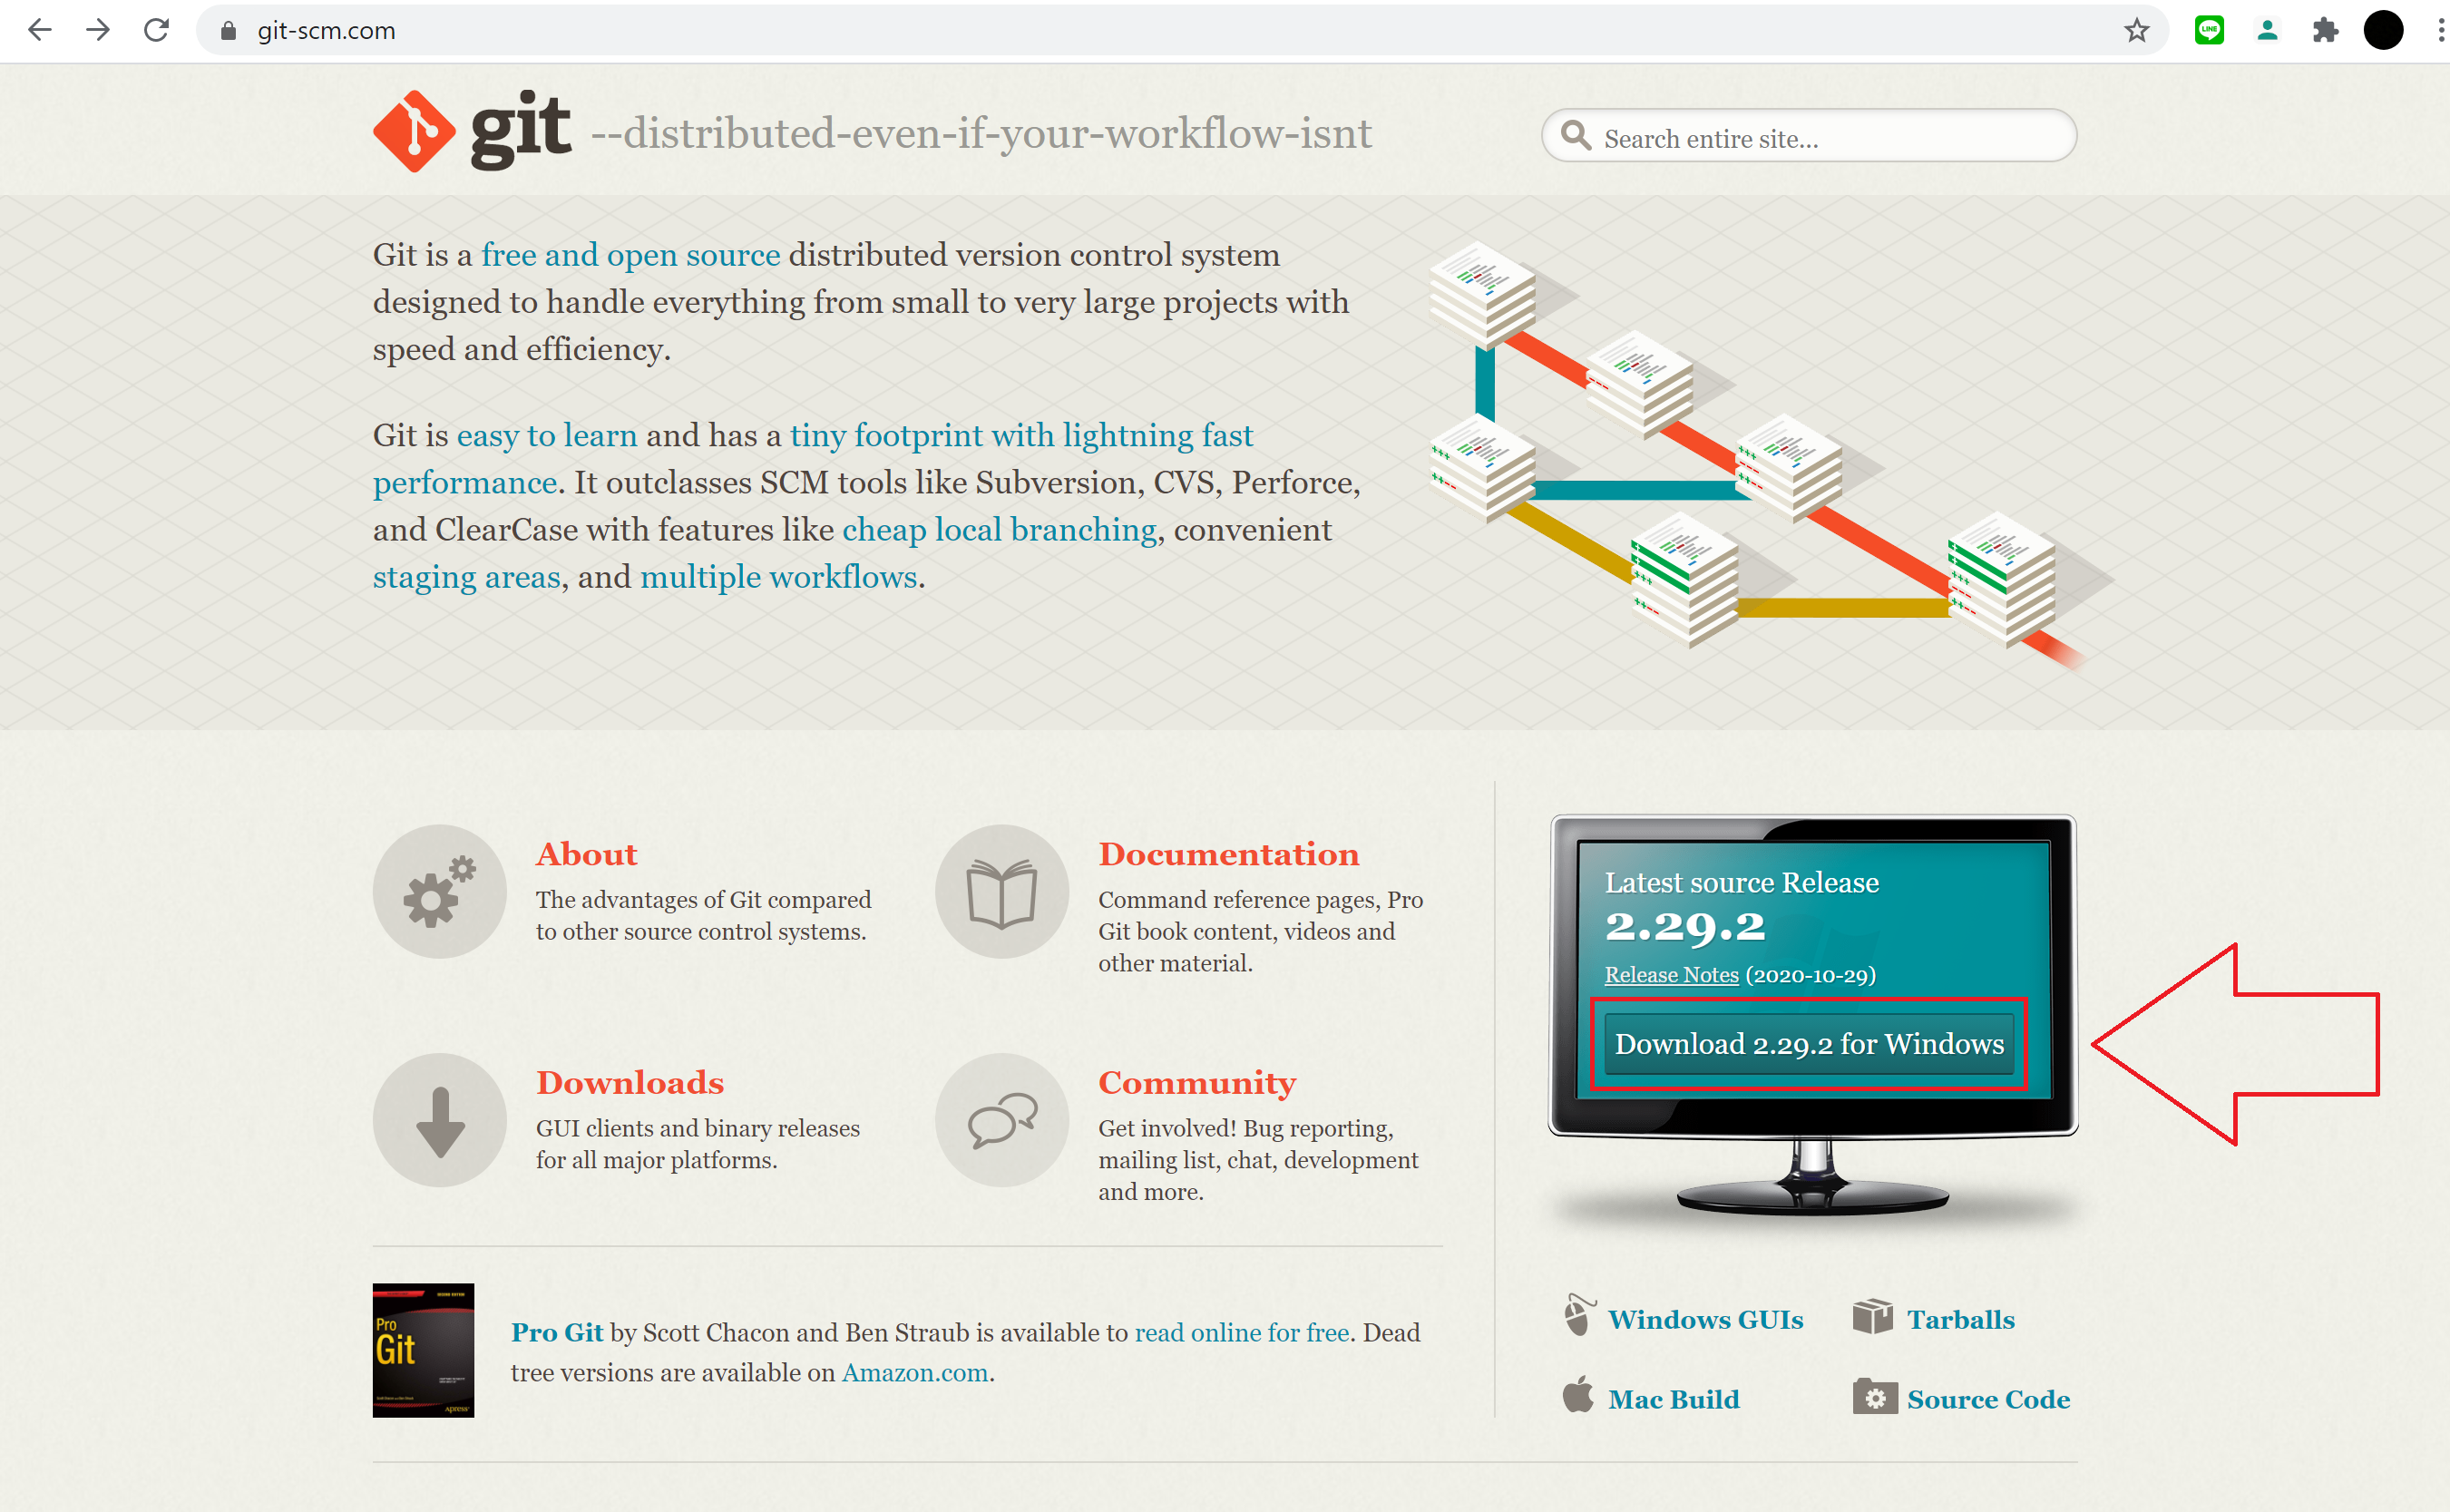
เมื่อติดตั้ง Git Client เรียบร้อยแล้วจะมีโปรแกรม Git Bash เป็น Git Command Line
เปิดโปรแกรม Git Bash แล้วพิมพ์คำสั้ง$git clone http://169.254.92.40/root/hellogitlab.git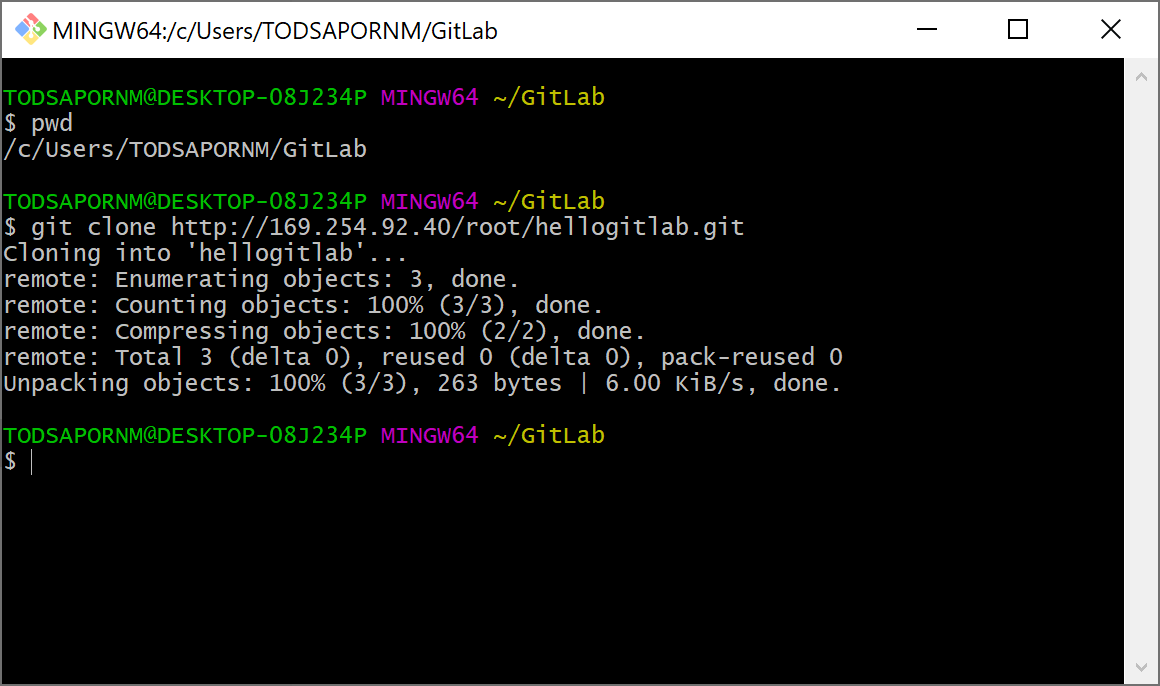
หลังจาก clone แล้ว Folder Repository จะอยู่ใน Folder ในขณะที่ run คำสั่ง git clone
ภายใน Folder: hellogitlab จะต้องมี README.md
การ clone เสร็จสมบูรณ์ - ทำการทดสอบเปลี่ยนแปลงข้อมูลใน Local Repository ด้วยการเพิ่ม File อะไรก็ได้เข้าไปยัง Folder: hellogitlab ในตัวอย่างเพิ่ม File:gitlab_logo.png

เปิดโปรแกรม Git Bash แล้วเข้าไปที่ Folder: hellogitlab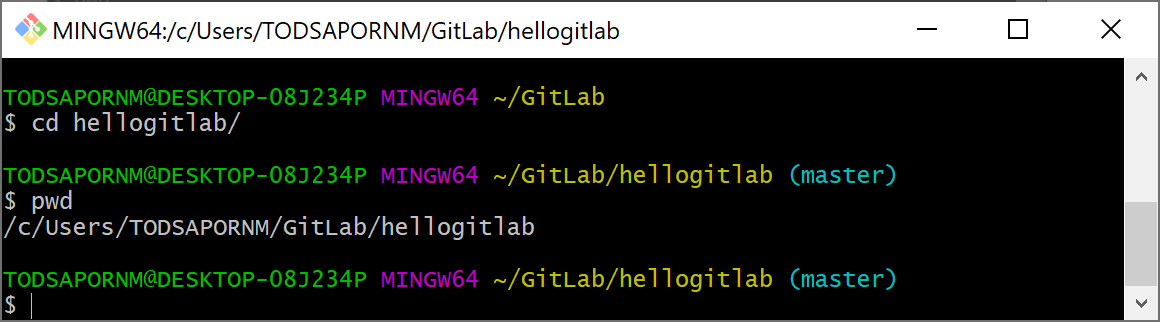
จากนั้นใช้คำสั้ง$git status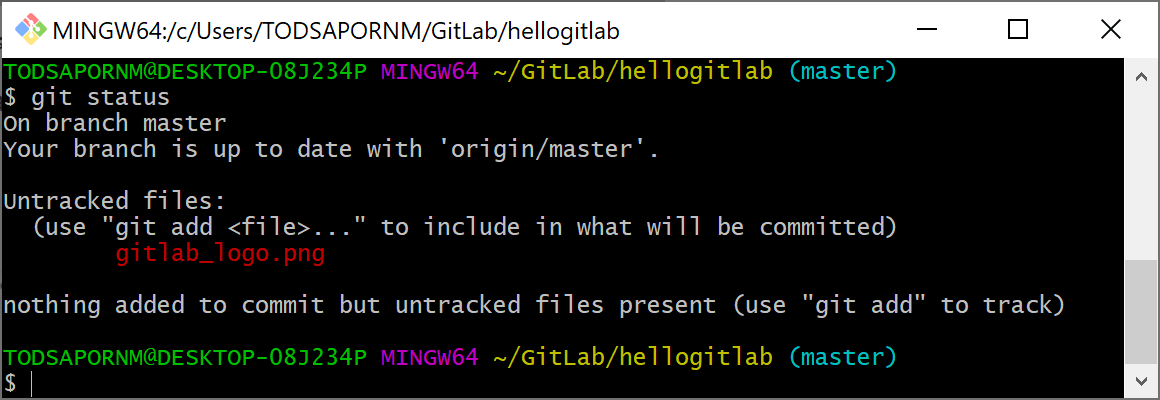
- ใช้คำสั่ง git add เพื่อ track ไฟล์ gitlab_logo.png
$git add gitlab_logo.png$git status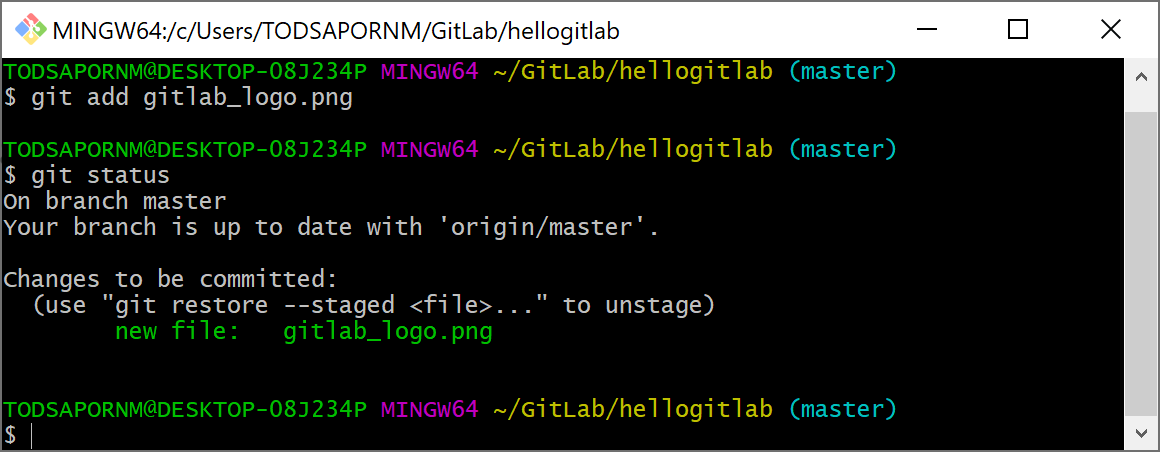
- ใช้คำสั่ง git commit เพื่อทำการ commit file ไว้ใน Local Repository
$git commit -m "Added gitlab_logo.png"$git status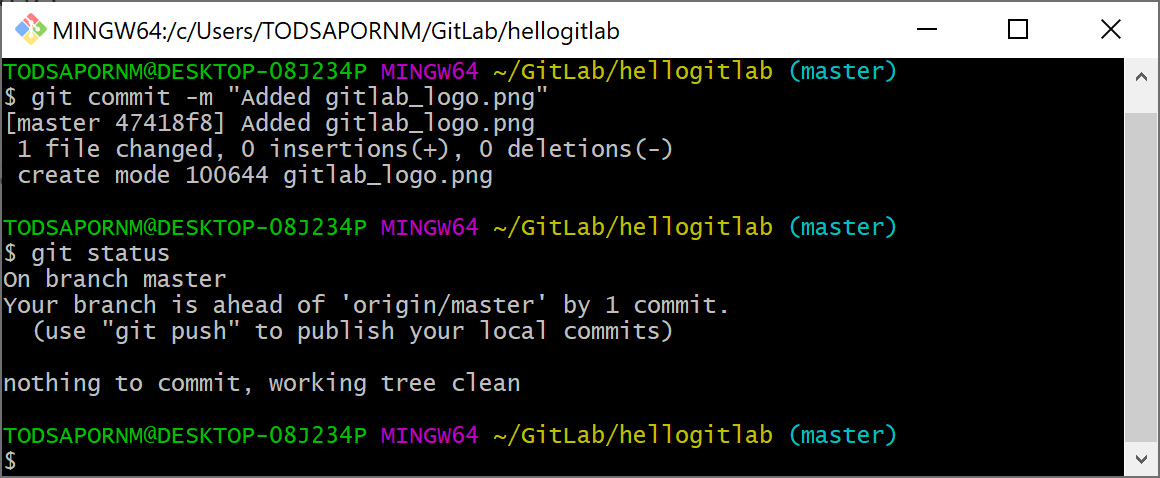
- ใช้คำสั้ง git push เพื่อทำการ Upload Local Repository ขึ้นไปบน remote repository
ใช้คำสั่ง git branch เพื่อตรวจว่า branch ปัจจุบันคือ branch ใด จะได้ทำการ push ไปยัง branch ที่ถูกต้อง$git branch
ใช้คำสั่ง git push เพื่อ upload การแก้ไขไปที่ remote repository$git push origin master
กรอก username:root แล้วกดปุ่ม OK
กรอก password ของ user: root
รอจน Upload เสร็จสิ้น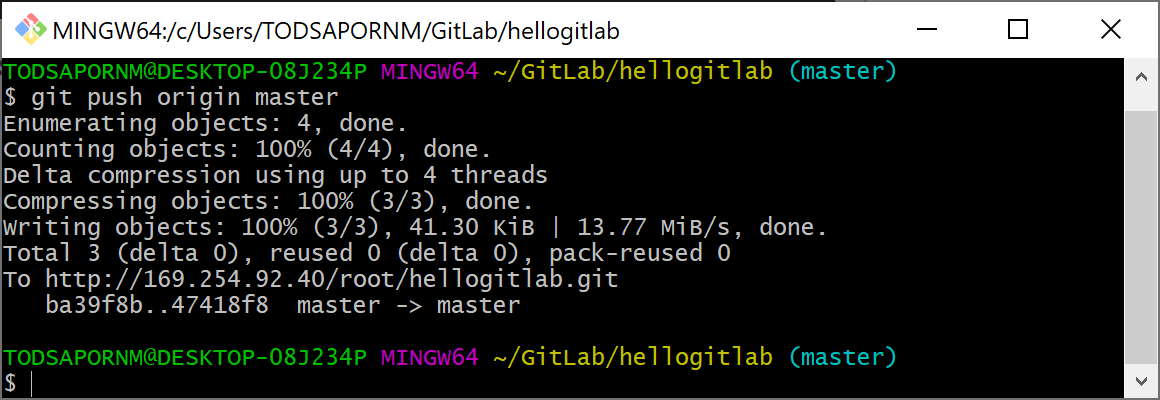
- ตรวจสอบ file:gitlab_logo.png บน remote repository
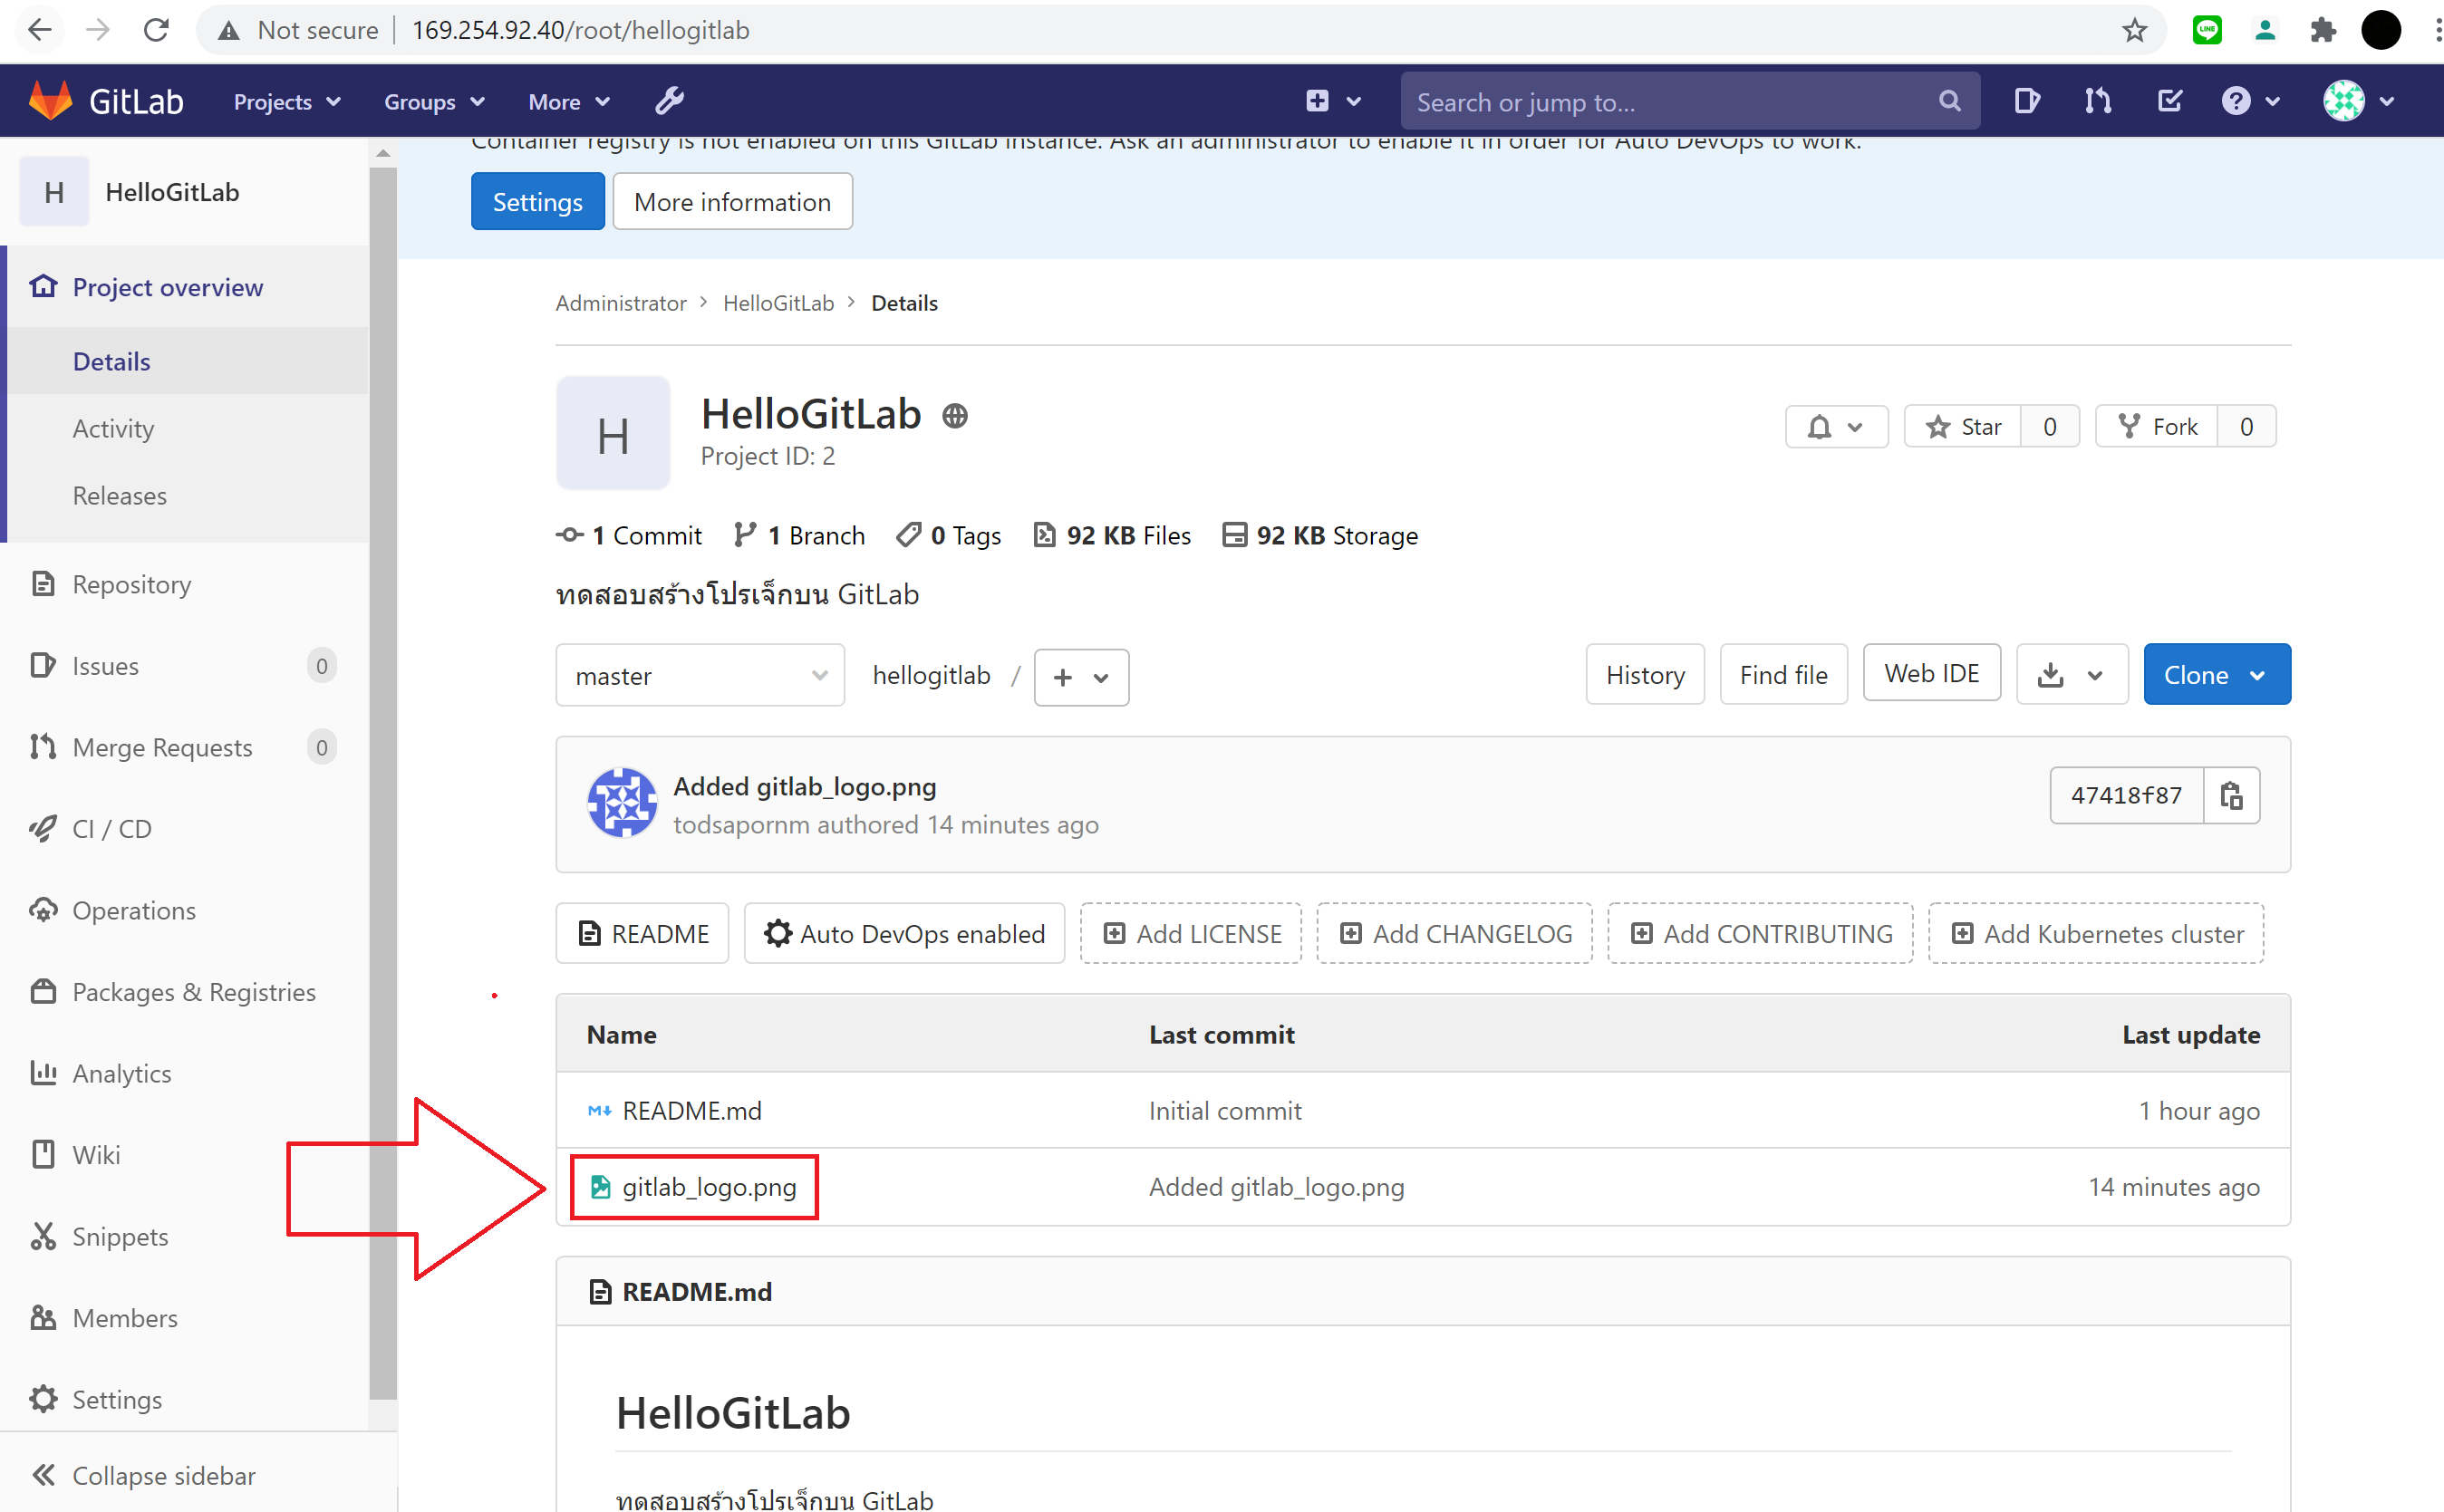
- เสร็จสินการทดสอบการใช้งาน GitLab เบื้องต้น
สรุป
การติดตั้ง GitLab Single Package (Omnibus) บน CentOS8 เป็นวิธีที่ง่ายสะดวกและเป็นวิธีที่ทาง GitLab Official แนะนำ ในการติดตั้งจะมีขั้นตอนที่าำคัญคือ
– Update CentOS8 ให้ใหม่เสมอ
– ติดตั้งโปรแกรมที่จำเป็นเช่น curl เป็นต้น
– เพิ่ม GitLab package repository บน CentOS8
– ติดตั้ง GitLab
– ตั้งค่า Firewall
– ตั้งค่าเริ่มต้นให้ GitLab user: root
– สร้าง New Project
เมื่อติดตั้ง GitLab และตั้งค่าแล้วจะต้องทำการทดสอบด้วยคำสั่ง git พื้นฐานเพื่อตรวจสอบว่า GitLab ที่ติดตั้งไปนั้นมีความสมบูรณ์หรือไม่ ต้องทำการ Download Git Client มาติดตั้งและทดสอบด้วยโปรแกรม Git Bash โดยมีคำสั่งพื้นฐานดังนี้
– $git status
– $git add <file name>
– $git commit -m "comment message"
– $git branch
– $git push origin <branch name>
Leave a Reply